Growing from Seed
Get a jump-start on the growing season by starting your own vegetable plants indoors. Here’s how.

#1 Seedling Mix
Available Here
Starter Mix
Provides new plants with the moisture retention and aeration they need.
$8.50Learn moreMany things grow in the garden that were never sown there. – Thomas Fuller, Gnomologia, 1732
Growing vegetables from seed may take a little effort, but there are several advantages for the home gardener. They include:
- More varieties are available as seeds than from full-grown plants.
- It’s cheaper.
- When you grow your own plants, you are getting a known quality.
If you decide to start growing from seed, the next question that needs to be answered, is whether to start them indoors or outdoors. The answer depends on plant quantities, how much space you have to devote to indoor gardening and the length of your growing season. Another thing to think about: plants begun indoors have higher survival rates than those started outdoors. Learn more about starting seeds indoors from the University of Nebraska Extension.
Keep in mind that this is not an all or nothing deal. You can make case-by-case decisions and start some vegetables from seed and others from plants. It’s your garden… go nuts!
Planet Natural offers heirloom garden seeds that are non-treated, non-GMO and NOT purchased from Monsanto-owned Seminis. Need advice? Visit our vegetable guides for tips and information on growing specific types.
Seven Steps of Seed Sowing
Eileen Powell, author of From Seed to Bloom, divides the sowing of seeds into seven steps:
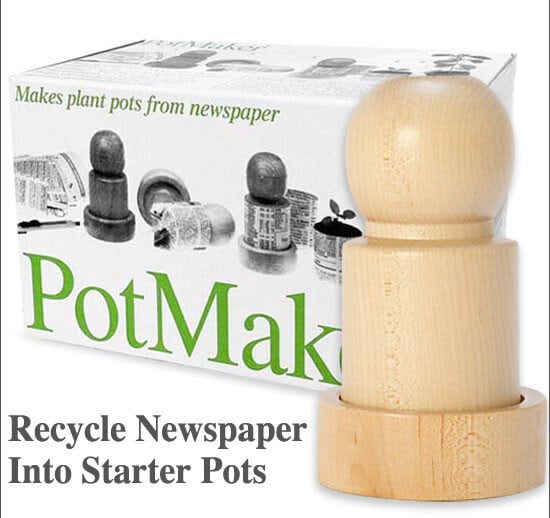
- Prepare the containers. Clean with well-diluted bleach (nine parts water to one part bleach). Punch drainage holes in the bottom of your container and then line with a layer of newspaper.
- Prepare your growing medium. If you are using soilless growing media, Powell recommends dampening it. Place it in a plastic bag and add four parts water to one part soil. Mix well by squeezing the bag. End result should be damp, but not wet.
- Fill containers. In addition to your growing medium, you may want to add a layer of sand to promote drainage. Fill pots or flats to within 1/4 inch of the top with your potting mix and level the surface.
- Sow your seeds. The easiest way to avoid mixing things up is to plant only one variety of seeds per container. Powell says, “as a general rule of thumb, seeds should be covered to three times their diameter.” Read the directions on the seed packet for specific planting instructions.
- Label containers. Label each container with what seed you’re planting, date planted, expected date (range) of germination. Also, mark a calendar with your plants germination dates which will make planning easier, Powell says.
- Water. If you’ve pre-moistened your growing medium, you can skip this step. Otherwise, water to moisten, but do not saturate the soil.
- Cover containers. Cover seed trays with plastic wrap or place them inside a plastic bag. The idea behind covering the container is to keep moisture levels constant. Seeds are very sensitive to the amount of water they receive. Too much water or too little water will greatly effect your success rate. Remove the cover once the seeds have germinated to prevent plant diseases such as damping off.
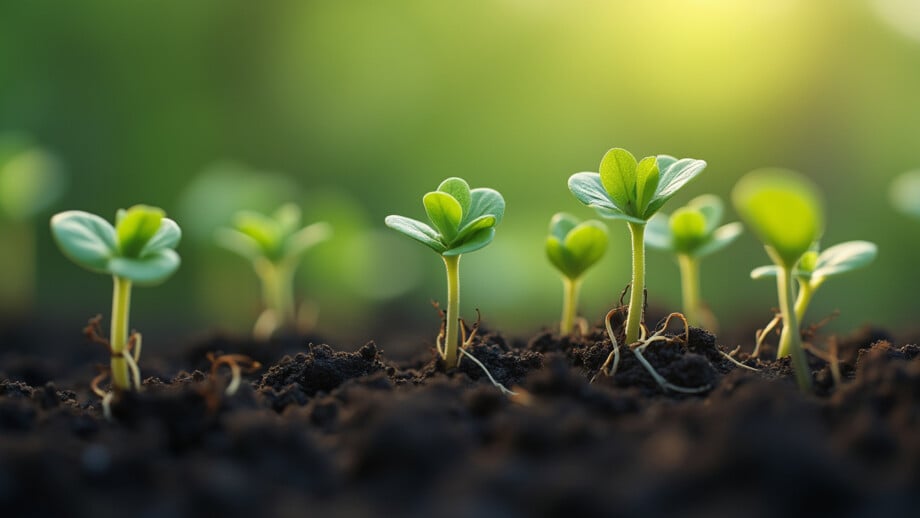
As soon as your seedlings develop true leaves (usually the second set of leaves), it’s time to give them more room.
Thin them by trimming off the plant’s leaves at soil level. You’ll want to end up with one plant for every 1 to 2 inches.
THE INSIDE SCOOP
|
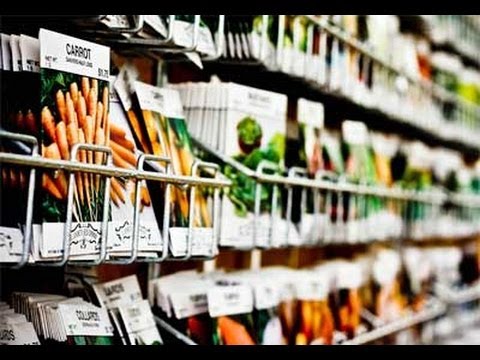
Selecting Seeds
Order seeds well in advance of when you need to plant them, but only after you have figured out the size of your garden and how much seed you need.

FREE SHIPPING!
Tomato Seeds
When’s the last time you had a fresh, great tasting tomato from the supermarket?
View allSo much sweeter, juicier and extra flavorful than a commercially-raised tomato, homegrown heirloom tomato seeds restore one of summer’s greatest pleasures.
All seeds are not created equal. Some live longer than others. In general, corn, leek, onion, parsnip and rhubarb are considered “short-lived” and their seeds are only good for a year or two. Moderately long-lived seeds includes those for asparagus, beans, Brussels sprouts, cabbage and carrot. Vegetable seeds with a reputation for being long-lived — that is those that can live longer than five years — includes seeds for beets, cucumbers, eggplant and muskmelon.
More and more heirloom seeds are being sold commercially, but there’s also a whole network of nonprofit seed exchanges where growers seek out and exchange seeds. You can find commercial purveyors and seed exchanges by doing a little research on the Internet.
Transplanting
Keep your fledgling plants indoors at least until the danger of frost has passed. You’ll also need to “harden” the plants that you’ve grown before transplanting. “Hardening plants” means putting plants outdoors for longer and longer periods of time for them get used to the harsher environment. They have to acclimate, just like mountain climbers will climb high and sleep low to acclimate to higher altitudes and less oxygen. After about a week of extended time outside, your plants should be ready for transplanting.
If you can, transplant seedlings on a moderate day. Ideally, it should be mild and slightly overcast. When Mother Nature won’t comply with your request and the days are overly hot, transplant in the cool of the evening and avoid the heat of the day.
Water plants an hour or two before transplanting. Loosen the soil around the plants by tapping the flat or container on the ground (gently!). Use a trowel to cut a little square about the plant. Remove it. Then place in the previously dug hole. Make the plant level with the ground. If you’ve used biodegradable containers you can just put the container into the soil as is. Slash the sides of the containers so roots can spread.

FLOATING ROW COVER
Harvest-Guard
Floating row covers let in sun, water and air... but keep bugs out! Protects to 26°F.
Learn moreDirect Seeding Outdoors
Eileen Powell, author of From Seed to Bloom, recommends starting seeds in a designated starter bed and then transplanting. She believes it’s actually less work to do it that way rather than starting the plants in what will be their permanent location.
The starter beds should be near your vegetable garden, if that’s practical and some place where your seedlings will receive plenty of light, but also will be protected from drying winds. Powell recommends placing seedling beds against a fence or wall, for example.
If a plant’s root system won’t hold up to transplanting, you can start seeds in situ, which means planting seeds in a spot where the plants and their vegetables will grow to maturity.
Mix sand with fine seeds to make them easier to sow and handle. Press the seeds lightly into the soil using the back of a spade or towel. If seeds require darkness then cover with a porous material like sand which will keep out the light, but will permit water to penetrate.
The easiest way to plant large seeds is to dig a shallow furrow with a stick and then plant seeds at set intervals, then cover with a porous material such as vermiculite or sand.
As you’re planting, mark off where you’ve planted what so you will know where everything is.