Starting Super Seedlings
Starting your own seeds indoors just might be the second most enjoyable act of procreation you’ll ever experience.

Best product
for Starter Pots
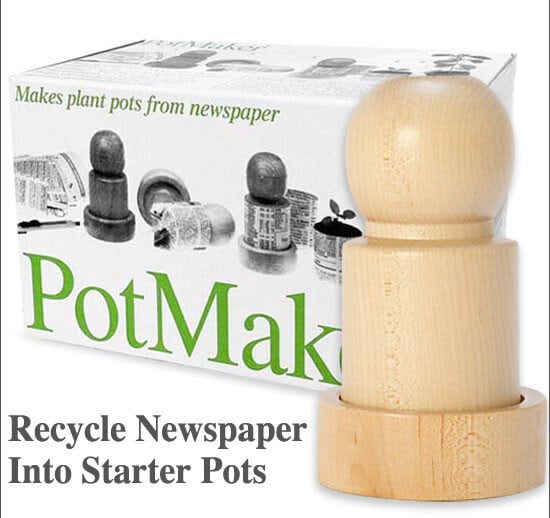
Pot Maker
Create your own 2 in. biodegradable plant starters out of recycled newspaper.
$19.95Learn moreGrowing from seed is a great way to expand the variety of plants in your organic garden. Starting plants from seeds may take a little effort, but it’s one of the most gratifying gardening endeavors you’ll ever experience, and it’s one of the surest ways of stretching your gardening budget.
Make sure the container you select for starting seeds is at least one or two inches deep and has drainage holes. The potting medium should be fast draining, yet hold water. Some gardeners prefer soilless growing media which includes vermiculite, perlite or coco coir products, used alone or in combination. You can grow the seeds from start to finish in a sterile potting mix. Just make sure that the soil is moist before filling the containers.
Use warm water and give the soil mix time to absorb plenty of moisture. You’ve added enough water when the mix holds together when squeezed without dripping.
Next, fill the container leaving at least 1/4 inch of space at the top. This process is as simple as plopping a seed or two in the container, topping it off with a light layer of potting mix and watering gently with a hand held sprayer or mister. At this point, the proper conditions exist for germination which can be stopped by lack of moisture, warmth, air circulation or light.
Give your garden expert care from the very start. It’s easy when you have the right seed starting supplies from Planet Natural. We carry all the equipment you need to keep your young plants thriving.
Provide even moisture for successful seed germination. If the potting mix dries out, the plants will die. Pay careful attention to the moisture level in your containers; you may need to water every day or place the containers inside a clear plastic bag to keep the potting mix from drying out. Remove the bag once the seeds have germinated to prevent plant diseases from developing. There are seed starting kits available that have a clear plastic dome and a watering tray below. These kits use capillary action to draw water from a reservoir below into the potting mix.

SEED STARTING KIT
Hot House
Get a jump on the season and grow bigger, healthier plants with Hot House!
$44.95Learn moreJump start your plants with the Hydrofarm Hot House. Offers increased growing success by providing gentle heat to the root zone and by controlling humidity under the dome. Easy to use — just add your own starter mix!
Improve germination success with a Heat Mat. Easy to use, they fit under most standard-sized seed flats and gently warm the root zone 10-20°F over ambient temperatures. Once your seeds have sprouted, room temperature is ideal. A sprouted seed is no longer a seed but a seedling, a miniature plant.
The most important thing to consider and deliver is adequate plant light. Seedlings need more light than full grown plants, ideally as much as 16-18 hours a day. Additional light may be required for seeds started during the winter months. Affordable plant lights can be found at many garden supply stores for less than $100. Add a simple timer, which will turn the light on and off automatically, to make a simple but effective growing system.
We’ve found that a window sill, even a sun porch, doesn’t provide enough light to grow strong, healthy, compact starts. Use some form of artificial lighting– we especially favor the T5 fluorescents for the quality of their light, the simplicity in using them and relative low expense to purchase and operate. Once seedling emerge bring the light as close to the plants as possible. Keep a close eye on growth and move the lights up as they progress. We give our starts 12 hours of light a day.
No fertilizer is necessary from the time you plant the seeds until they begin to germinate and grow. Everything a plant needs to grow is contained in the seed itself.
Once the seedlings develop their first set of leaves, fertilize with a mild 1/4 to 1/2 strength-solution of liquid seaweed, fish emulsion or compost tea every ten to fourteen days. Once they have grown sufficiently, transplant the seedlings into larger containers. The best time to transplant seedlings is when they begin to develop true leaves. The first set of true leaves are usually the second set that a seedling will produce. The first set are cotyledon leaves and won’t support the plant.
Using a fork or a chopstick, gently lift the seedling from its original container getting as much of the root system as possible.

PLANT GROW LIGHT
DaySpot (60W)
This full spectrum 60W powerhouse will produce healthier plants and blooms.
Learn moreGrow where no one has grown before! The AgroSun DaySpot is a 60 watt grow light kit designed to produce bigger, better blooms and healthy plant growth. Plugs into any 120-volt outlet and covers a 24-inch diameter growing area when placed 24-inches from plants.
Place the seedling into its new home. If you need to handle the little plant, grasp its leaves, not the stem which is brittle. Gently water the new transplants and return them to the light source until you begin to see new growth, which will let you know that the operation was a success.
Transplanting into the Garden
If everything goes as planned, your seedlings should be ready to transplant in 5 to 10 weeks. However, don’t just toss them outside. It’s better to gradually introduce them to the great outdoors. Start with a few outings of just a couple hours during the warmest part of the day. Then gradually add hours until they’ve acclimated, or hardened-off, and can be planted outdoors (see Hardening Off Isn’t Hard).
Transplanted seedlings get a head start on directly seeded gardens, and they mature earlier, which is a good thing if you live in an area with a short growing season. Healthy seedlings are predictable and almost always guarantee uniform plantings, while direct-seeding can result in poor germination and gaps in rows if conditions are less than favorable.
If you can, transplant the seedlings into your well-prepared garden soil on an overcast day or early in the morning or evening, when the sun is not too strong. Remove the tender seedlings carefully from their containers, taking care to disturb the root ball as little as possible. Plant them one at a time in a pre-dug hole (about twice the size of the root ball), press the soil down firmly around the roots. Water immediately with a seaweed extract solution to “seat” the transplant and prevent transplant shock. Keep your seedlings evenly moist for one to two weeks after planting.


