Gathering the Harvest
Gardening is a matter of your enthusiasm holding up until your back gets used to it. – Author Unknown


Garden Hods
Available Here
Harvest Basket
Handmade in Maine from quality hard and soft woods and lobster trap wire.
$49.95Learn moreIt’s important to know when the right time is to begin harvesting the garden. This not only depends on when your crops are ripe, but also on the length of your growing season and what the effect of a frost will be.
Some vegetables actually improve after a frost. These include kale, cabbage, parsnips, carrots and brussels sprouts, which get sweeter from the cold temperatures. These can stay in the ground longer without ill effect.
For those plants which can’t stand the cold, there are many ways to help them survive a little longer. If it’s going to be a light frost, you can protect plants overnight by covering them with old sheets, row cover, burlap sacks or large boxes. It’s usually worth the effort because the second frost is often two or three weeks after the first one (see Principles of Frost Protection).
Preserve your precious bounty! Planet Natural offers a large selection of harvest equipment and supplies — from drying racks to vacuum sealers — to keep what you grow safe through the winter and beyond.
Here in Montana, Old Man Winter comes early which means that vegetables such as tomatoes may not be ready for picking before the deep freeze comes. If a heavy freeze is on its way, go out and pick all your tomatoes. Green tomatoes that have reached about 3/4 of their full size and show some color will eventually ripen. Another approach, is to simply pull up the plants by their roots and let the tomatoes ripen gradually by hanging them upside down on the vine indoors. Learn more about organic tomato gardening here.
How do you know when a crop is ready? The “Days to Maturity” listed on each seed packet can be used as a general guideline for picking at the peak, but remember, environmental conditions such as temperature and day length can greatly influence how long this takes. Keep in mind, that ripe doesn’t necessarily mean ready, there are different rules for different plants. For example:
- Crops that you grow for their vegetative part (leaves, stems, roots) should be harvested when they are young, tender and immature. Basil, broccoli, lettuce and radishes are good examples. As a general rule, harvest early and often.
- Fruits such as tomatoes and apples should be allowed to ripen on the plant. There are, of course, exceptions to this rule. Several of the “fruits” that we call vegetables (summer squash, snap beans, eggplant, etc.) are much better if picked when young.
- Pumpkins should not be harvested before they reach maturity, which is best determined by the thumbnail test. A mature pumpkin will have a hard rind that resists puncture from the thumbnail. Green pumpkins will not develop full color in storage.
- Harvest onions and potatoes when the tops begin dying and have fallen over.
- Pick a pepper and don’t worry about whether or not it’s “ripe.” They can be eaten at just about any size or state but are most flavorful when mature. A pepper that has reached maturity is full size and has turned its’ final color.
Tip: The best time to harvest your garden is early morning, just after the dew has dried. This is because your crops are cooler and have a higher water content and crisper texture than they do during the warmer part of the day.
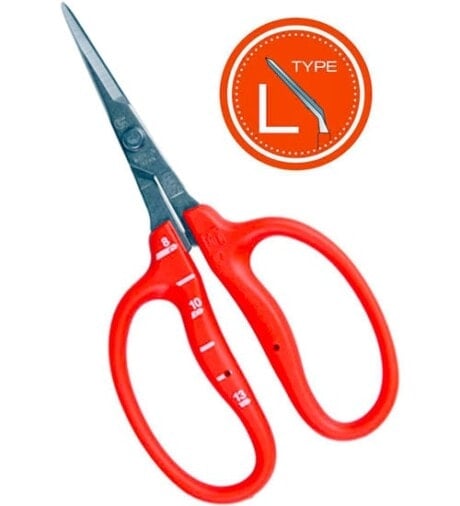
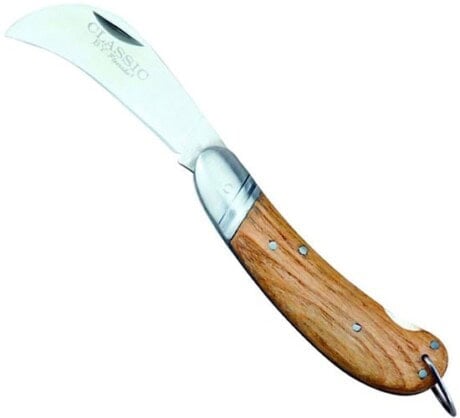
Garden ToolsBefore you start picking and digging everything in sight, you’ll probably want to consider some of these classic garden tools to help make the job easier on you and your crops. Gloves. These will help protect you from brambles and thorns as well as any plants that naturally irritate the skin. Paired with a long sleeve shirt, you should remain itch free in all your gardening endeavors. A Sharp Knife. Helpful for cutting vegetables such as squash, broccoli and cabbage, a sharp pruning knife should be a part of your harvest equipment. Hori Hori. This tool is highly valued by professional landscapers who use it for cutting woody stems, transplanting, mixing soil amendments and more Scissors. I know, I know this is similar to a sharp knife. I’m just bringing it up because they can come in really handy when cutting herbs and leafy vegetables. Pruning Shears. The ideal tool for harvesting crops with woody stems like peppers, pumpkins and squash. Spade. Particularly important if you’re harvesting root veggies, but be careful. A little careless digging can result in broken and damaged crops. |
Storing
To store vegetables successfully, the following requirements need to be taken into consideration.
Temperature. Cool temperatures (32 to 55˚F.) help to prevent moisture loss and delays the growth of bacteria and fungi that cause crops to spoil. Have a bunch of green tomatoes? Use warmer temperatures to increase the speed of ripening.
Moisture. Stored vegetables quickly shrivel and lose quality without proper moisture. Storage areas must have the humidity raised to reach the ideal 80 to 90 percent relative humidity that most vegetables prefer. Moist sand, wet burlap bags and layers of wet sphagnum moss will help to add moisture.
Ventilation. Harvested vegetables still “breathe” and require oxygen to maintain their high quality. Wilting and tissue breakdown are minimized by proper air circulation.
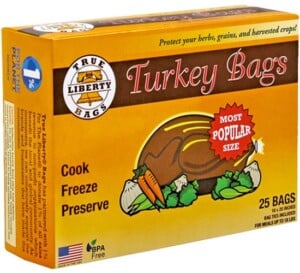
KEEPS CROPS FRESH!
Turkey Bags
Preserve your harvests by locking in the nutritional value of fresh garden crops.
$11.95Learn moreThicker than the leading brand! True Liberty® Turkey Bags have an excellent aroma barrier and lock in the nutritional value of produce and garden crops. Use them to store vegetables, dried herbs and aftermarket flowers.
Whether you store your crops whole, freeze-preserve or dry them, it pays to find out which storage conditions are best for the crops that you want to save. Here are some suggestions to help you get started:
- Vegetables can be separated into the following storage groups: warm-dry for squash and pumpkin; cool-dry for onions; dry for peas and beans; and cool-moist for root crops and potatoes.
- Refrigerate vegetables with a high water content such as leafy greens, all members of the cabbage family, carrots and cucumbers as soon as you pick them.
- Potatoes, onions, winter squash and sweet potatoes require a curing period to enhance their storage qualities.
- Beets, cabbage, Chinese cabbage, cauliflower, kale, leeks and onions can be stored through fall frosts under mulch. Brussels sprouts can withstand some light freezing and can be stored in the garden for several months.
- Root crops (beets, carrots, parsnips, potatoes and turnips) can be left for part or all of the winter in the garden where they grew. When the ground begins to freeze, these vegetables can be covered with straw, hay or leaf mulch for protection. Learn how to store home-grown vegetables here.
- Vegetables such as garlic, onions, pumpkin and winter squash, should never be stored in the refrigerator. They do best when stored in a dark place at 50 to 60˚F. and normal humidity.
Tip: Certain vegetables should not be stored with apples because apples release ethylene gas. Ethylene will make carrots bitter tasting and reduce the storage life of Irish potatoes and pumpkins.

Canning
Canning your own vegetables seems old-fashioned in our modern age. But canning is contemporary, too. It’s a technology, constantly evolving with better canning equipment and the applied kitchen science needed to safely preserve a food supply that’s evolving as well.
Preserving the harvest in jars connects us with the generations that have gathered in kitchens over the years — thank-you, grandma! — to can produce and other foods. As it seems to do sometime with each generation, canning today is enjoying growing popularity among millennials.
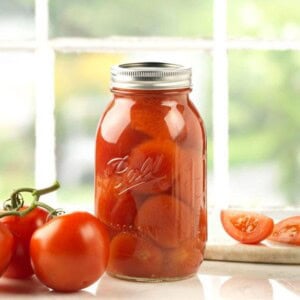
BALL® CANNING JARS
Regular, Set of 12
The trusted brand for keeping your summer's labor fresh and ready to eat.
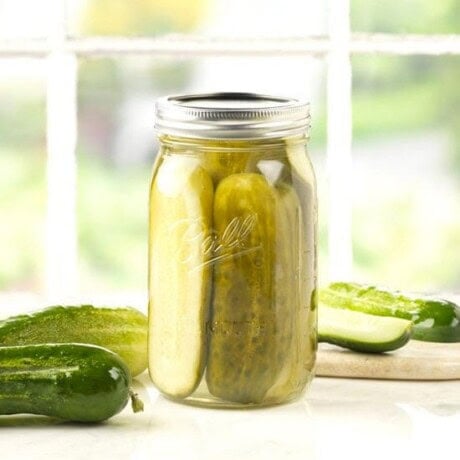
$11.50Learn moreThere’s no one-size-fits-all solution to preserving your garden’s harvest! Ball Regular Canning Jars are the classic, trusted tool for keeping your summer’s labor fresh and ready to eat. Sold in cases of 12.
Canning is a necessary skill for those looking to feed their families healthy, home-grown foods. The process requires perfect sanitation and attention to details. When canning, our kitchen becomes a laboratory. We use specialized equipment, even if it’s as mundane as new canning jar lids. We’re required to measure ingredients and monitor temperatures and air pressure. It’s not a time for “close enough” or “whatever.” Your family’s health is at stake (see Tips to Guarantee Canning Success).
Beginners should consult one of the complete references below and then get an old hand, say a friend, neighbor, or relative, who know what they’re doing to allow you to watch and help. It’s time well spent.
- Not sure which canning method — water-bath or pressure canning — to use? Here’s a chart (scroll down) to guide you. If in doubt, use the pressure canner. Some foods will be safe for water-bath canning if extra acid (lemon juice or ascorbic acid) is added.
- Inspect both new and used jars for cracks, chips or other small damage. Jars not in perfect condition can leak food and break further under pressure.
- Save and keep handy the manufacturer’s directions to a new pressure canner. This can be your best source of detailed information on its proper operation.
- Still using grandma’s old pressure canner? Pressure canners have become more sophisticated over the years. If your canner is one of those thick-walled kettles that dates back to the ’70s and before, replace it.
- Use only recipes from trusted sources specifically designed for canning. Such recipes consider type, size, pH content and other important variables of what’s being canned. Avoid the urge to be creative when you can. Canning recipes are less art and more science.
- Be sure to give your pressure canner plenty of time – a minimum of ten minutes of steaming — to bleed air from the container through the petcock before closing the petcock or attaching the weighted gauge. Failure to do this may result in less than microbe-killing temperatures.
- Canning at elevation, starting as low as 2,000 feet, can require more boiling time and pressure. Here’s a chart from the fine folks at Colorado State University Extension listing pressure readings to use at different altitudes.
Drying
Drying vegetables has distinct advantages over canning, freezing or other preserving methods that require extreme temperatures. Dried foods require little if any energy to store compared to frozen items that require refrigeration and canned items requiring cooking and container boiling (see Storing the Harvest: Drying Fruits and Vegetables here).
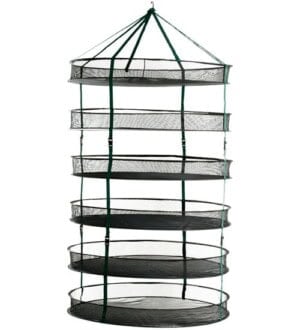
HANGING DRYING RACK
STACK!T
Made of breathable mesh that allows for quick drying and maximum ventilation.
Learn moreThe STACK!T® Hanging Drying Rack lets you preserve an entire harvest without damaging a single plant. It’s ruggedly made of collapsible mesh material that’s so damn simple and effective… you’ll wonder how you ever got along without it!
Dried vegetables weigh less and take up less shelf space than canned. They retain most vitamins and minerals better than canning or freezing. They don’t lose fiber. And they don’t lose flavor. They concentrate it.
Here’s what you need to know to get started drying garden produce at home.
- Drying extracts moisture from fruits and vegetables. Removing this moisture inhibits the bacteria, molds and other microorganisms that cause spoilage.
- Drying at proper temperatures retains the natural enzymes and also prevents enzymatic deterioration during storage.
- Warm and less humid conditions encourage the fastest drying.
- Proper air circulation allows heat and low humidity to do their job quickly and efficiently.
- Keeping temperatures around 130-140 degrees dries most produce quickly while preserving its nutritional content.
- Air circulation — moving the evaporated moisture away from the food — facilitates rapid drying. The more surface exposed to moving air, the faster and more efficient the drying.
- Thin slicing and leaving space around your drying produce is important.
- Never stack or crowd fruit or vegetables that are drying in an attempt to process more than your equipment can effectively hold.
- Food dehydrators have made drying fruit and vegetables easy. A food dehydrator with heating element, thermostat and blower allows you to control drying conditions.
Best results come from the best produce. Don’t use bruised peppers or fruit that’s past ripe (best is fruit just before it’s completely ripe). Don’t use woody beans, peas past their prime or over-sized zucchini. No form of preservation will ever make them better than they once were.


