Harvesting & Storing
No matter how you like your tomatoes — fresh sliced, canned, or made into sauces — harvest time is party time in the garden. Plus storage tips too! Dig in for the details.
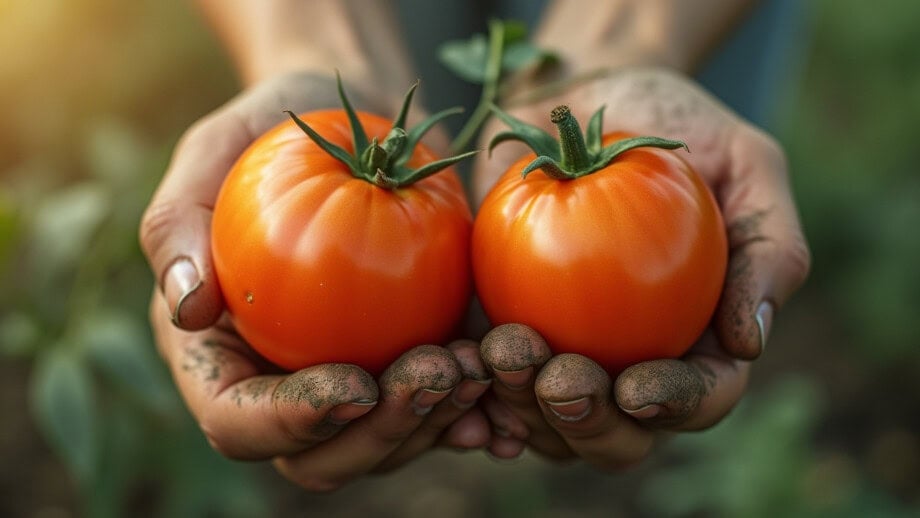

Garden Hods
Available Here
Harvest Basket
Handmade in Maine from quality hard and soft woods and lobster trap wire.
$49.95Learn moreHarvest Tomatoes
Fruit that is fully ripened on the vine has a much fuller flavor than fruits that are picked early and then allowed to ripen. Many cherry tomatoes, however, have a tendency to crack if they stay on the plant, so they should be picked at the peak of redness, or even a tad before.
When daytime fall temperatures are consistently below 60˚F, fruit will no longer ripen on the vine, so it is time to pick your tomatoes and bring all mature green fruits indoors, either on the vine or off (see Ripening That Huge Crop of Green Garden Tomatoes).
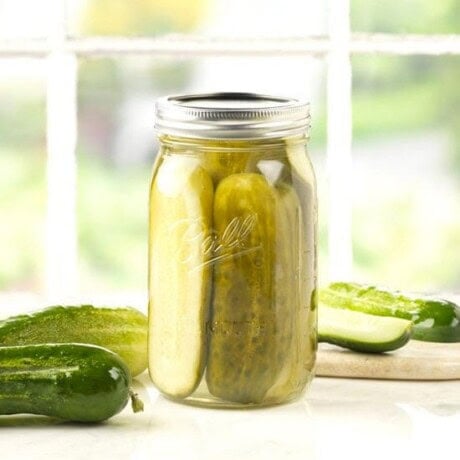
Whether pickling, making jam or putting up fresh garden produce, we have the canning supplies you’ll need — jars, caps, lids, pickling spice — to keep the harvest through the winter and beyond.
How to Store Ripe Fruit
Wash and dry your tomato harvests before storing. Unless you’re planning to store your tomatoes for over a week, a windowsill, countertop or bowl works fine. If you know you won’t use them in the next few days, then lower temperatures (a cool entryway, the refrigerator) will help preserve the fruit. Contrary to our common practice in the US, storing in a refrigerator is not otherwise recommended, as the cooler temperatures can reduce flavor and cause mushiness. Your fresh-picked tomatoes will last longer on the kitchen counter than store-bought ones, which are probably a few days old when you get them.
Other Uses for Ripe Fruit
If you end up with too many tomatoes to eat at one time, try these storage methods:
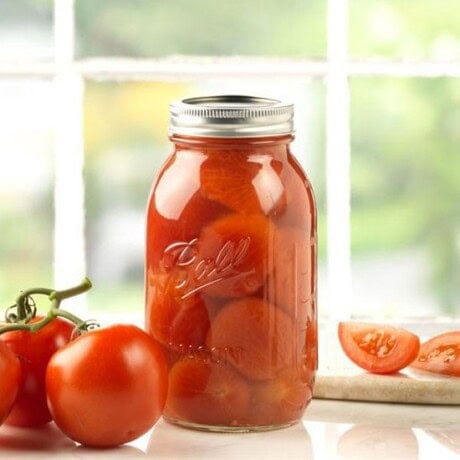
- canning, which will preserve your tomatoes for a year or more;
- freezing, which can be used for up to eight months;
- drying, which can keep tomatoes for more than a year.
How to Ripen Green Fruit
Here is a topic that brings out the best — or worst — in tomato growers. Drop this topic into the midst of a covey of back-yard tomato growers, and watch the waters begin to seethe.
Most of us grew up placing unripe tomatoes on a sunny windowsill — emphasis on sunny. However, every expert source recommends placing them in a paper bag (see Using & Storing Tomatoes). Light, so essential to growth and to setting fruit, is not needed to ripen the fruit. Hence, the dark place. While light is unnecessary, humidity and temperature control are critical during ripening. Tomatoes kept on a countertop can become too dry, while those in a plastic bag can mold or ferment. Hence the paper bag. Temperature is also important, and the paper bag acts as a miniature greenhouse, trapping some of the day’s heat. (When you trim back tomato foliage at the end of the season ‘to let the sun reach the fruit,’ it’s the sun’s heat, not its light, that helps ripen them.)
There’s another advantage to the bag. Tomatoes, like most fruit, emit ethylene gas as they ripen. This gas, a byproduct of ripening, is also a stimulant for ripening. When you store unripe tomatoes in a bag, the ethylene emitted by the riper ones will stimulate the others to ripen. Since most fruits emit ethylene, you can use another, ripe fruit to hasten the ripening process. Bananas work especially well because they emit more ethylene than most fruits.
KEEPS CROPS FRESH!
Turkey Bags
Preserve your harvests by locking in the nutritional value of fresh garden crops.
$11.95Learn moreThicker than the leading brand! True Liberty® Turkey Bags have an excellent aroma barrier and lock in the nutritional value of produce and garden crops. Use them to store vegetables, dried herbs and aftermarket flowers.
If the bag doesn’t appeal to you, remember that one of the best sources of heat is still the sun — and we’re back to that sunny windowsill. One expert source advises that one never put tomatoes on a sunny windowsill! (complete with exclamation point) because the sunny side may actually rot. If you turn them daily, though, rotting is unlikely, so go ahead. The light may not be helpful, but it doesn’t hurt, and the humidity control is not much of an issue with nearly-ripe fruit.
If it’s the end of the season, and you’re dealing with scads of green tomatoes still on the vine, the time-honored method of ripening tomatoes indoors is to cut the vines and hang them intact, upside down, in a dark place. Believe it or not, most of these tomatoes will indeed ripen. Those picked when their outer color changes to a lighter, more translucent shade of green known as mature green will fare better than those that are still a dark green. These very unripe fruit are candidates for other uses.
Green Tomato Recipes
Everyone knows, now, about fried green tomatoes, but if you hunt here and there you can find recipes for chutney, pickles, and even pie made from green tomatoes. Want to do something really unusual with your green tomatoes? Here’s a recipe for a green tomato casserole, adapted from Crescent Dragonwagon’s excellent Passionate Vegetarian cookbook, that puts your abundance to tasty use:
- 4-5- green tomatoes, gently chopped (about three cups)
- 1 onion, chopped (3/4th to 1 cup)
- 1 cup thinly sliced white mushrooms
- 2 tablespoons grapeseed oil or other oil suitable for sautéing.
- 1&1/2 cup bread crumbs
- 1/2 cup buttermilk
- salt and pepper to taste
1. Preheat oven to 325 degrees.
2. In a cast-iron skillet over medium heat, sauté mushroom until they begin to color and take-up the oil. Add onion and continue sautéing until onion begins to turn translucent. Remove from heat and let cool.
3. Combine tomatoes, onion-mushroom mixture, and one cup of the bread crumbs. Add salt and black pepper (more is better). Stir in buttermilk.
4. Empty mixture into greased casserole dish. Sprinkle with remaining bread crumbs.
5. Bake for 45 minutes or until mixture bubble and top browns (casserole can be finished with a few seconds under the broiler).
Tip: Adding a sprinkle of Gruyére or Asiago cheese across the top of the casserole in the last 10 minutes of cooking adds richness and color.

Canning
Canning your own vegetables seems old-fashioned in our modern age. But canning is contemporary, too. It’s a technology, constantly evolving with better canning equipment and the applied kitchen science needed to safely preserve a food supply that’s evolving as well.
Canning requires perfect sanitation and attention to details. When canning, our kitchen becomes a laboratory. We use specialized equipment, even if it’s as mundane as new canning jar lids. We’re required to measure ingredients and monitor temperatures and air pressure. It’s not a time for “close enough” or “whatever.” Your family’s health is at stake (see Tips to Guarantee Canning Success).
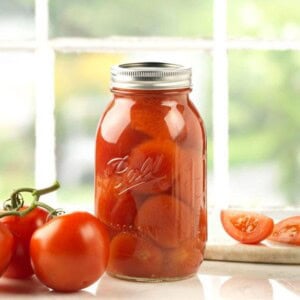
BALL® CANNING JARS
Regular, Set of 12
The trusted brand for keeping your summer's labor fresh and ready to eat.
$11.50Learn moreThere’s no one-size-fits-all solution to preserving your garden harvest! Ball® Regular Canning Jars are the classic, trusted tool for keeping your summer’s labor fresh and ready to eat. Sold in cases of 12.
Beginners should consult one of the complete references below and then get an old hand, say a friend, neighbor, or relative, who know what they’re doing to allow you to watch and help. It’s time well spent.
- Not sure which canning method — water-bath or pressure canning — to use? Here’s a chart (scroll down) to guide you. If in doubt, use the pressure canner. Some foods will be safe for water-bath canning if extra acid (lemon juice or ascorbic acid) is added.
- Inspect both new and used jars for cracks, chips or other small damage. Jars not in perfect condition can leak food and break further under pressure.
- Save and keep handy the manufacturer’s directions to a new pressure canner. This can be your best source of detailed information on its proper operation.
- Still using grandma’s old pressure canner? Pressure canners have become more sophisticated over the years. If your canner is one of those thick-walled kettles that dates back to the ’70s and before, replace it.
- Use only recipes from trusted sources specifically designed for canning. Such recipes consider type, size, pH content and other important variables of what’s being canned. Avoid the urge to be creative when you can. Canning recipes are less art and more science.
- Be sure to give your pressure canner plenty of time – a minimum of ten minutes of steaming — to bleed air from the container through the petcock before closing the petcock or attaching the weighted gauge. Failure to do this may result in less than microbe-killing temperatures.
- Canning at elevation, starting as low as 2,000 feet, can require more boiling time and pressure. Here’s a chart from the fine folks at Colorado State University Extension listing pressure readings to use at different altitudes.
Drying
Drying tomatoes has distinct advantages over other preserving methods that require extreme temperatures. Dried foods require little if any energy to store compared to frozen items that require refrigeration and canned items requiring cooking and container boiling (see Storing the Harvest: Drying Fruits and Vegetables here).
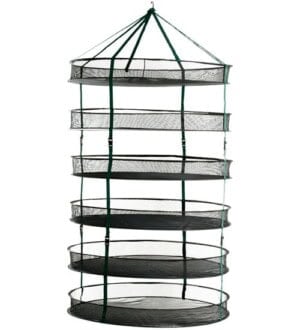
WORKS GREAT!
STACK!T
Made of breathable mesh that allows for quick drying and maximum ventilation.
Learn moreThe STACK!T® Hanging Drying Rack lets you preserve an entire harvest without damaging a single plant. It’s ruggedly made of collapsible mesh material that’s so damn simple and effective… you’ll wonder how you ever got along without it!
Dried fruits weigh less and take up less shelf space than canned. They retain most vitamins and minerals better than canning or freezing. They don’t lose fiber. And they don’t lose flavor. They concentrate it.
Here’s what you need to know to get started drying garden produce at home.
- Drying extracts moisture from fruits and vegetables. Removing this moisture inhibits the bacteria, molds and other microorganisms that cause spoilage.
- Drying at proper temperatures retains the natural enzymes and also prevents enzymatic deterioration during storage.
- Warm and less humid conditions encourage the fastest drying.
- Proper air circulation allows heat and low humidity to do their job quickly and efficiently.
- Keeping temperatures around 130-140 degrees dries most produce quickly while preserving its nutritional content.
- Air circulation — moving the evaporated moisture away from the food — facilitates rapid drying. The more surface exposed to moving air, the faster and more efficient the drying.
- Thin slicing and leaving space around your drying produce is important.
- Food dehydrators have made drying fruit and vegetables easy. A food dehydrator with heating element, thermostat and blower allows you to control drying conditions.
Best results come from the best tomatoes. Don’t use bruised fruit that’s past ripe (best is fruit just before it’s completely ripe). No form of preservation will ever make them better than they once were.


