
Microgreens have been making their way into grocery stores, restaurants, and into the recipes of some of your favorite foods.
These little leafy greens are packed with nutrients, usually more than the mature plants themselves, and can be a great addition to any diet as well as a beautiful garnish to any dish.
But what exactly are they? And what is the hype all about? These greens were popularized in the 1980s when they made their debut in fine dining restaurants in California.
They then started popping up in high-end grocery stores and specialty stores, but many of us steer clear of them due to their high price point.
But you’d be surprised to know just how easy they are to grow at home with just a handful of gardening supplies! A sunny windowsill, a shallow container, some potting mix, and the right seeds are all you need to grow your own microgreens. Plus, they’re ready to use in a matter of days (not months) and can be a rewarding activity for just about anyone.
What’s best is that they can be grown all-year around, so even if you’re reading this during winter time, you can successfully grow it at home next to your kitchen sink!
If all that sounds exciting to you, this article is for you! Here, we’ll go into detail on not only what microgreens are, but their benefits, some top choices to grow, and exactly how to grow them at home. So let’s get started and learn how to easily grow microgreens!
What are Microgreens?

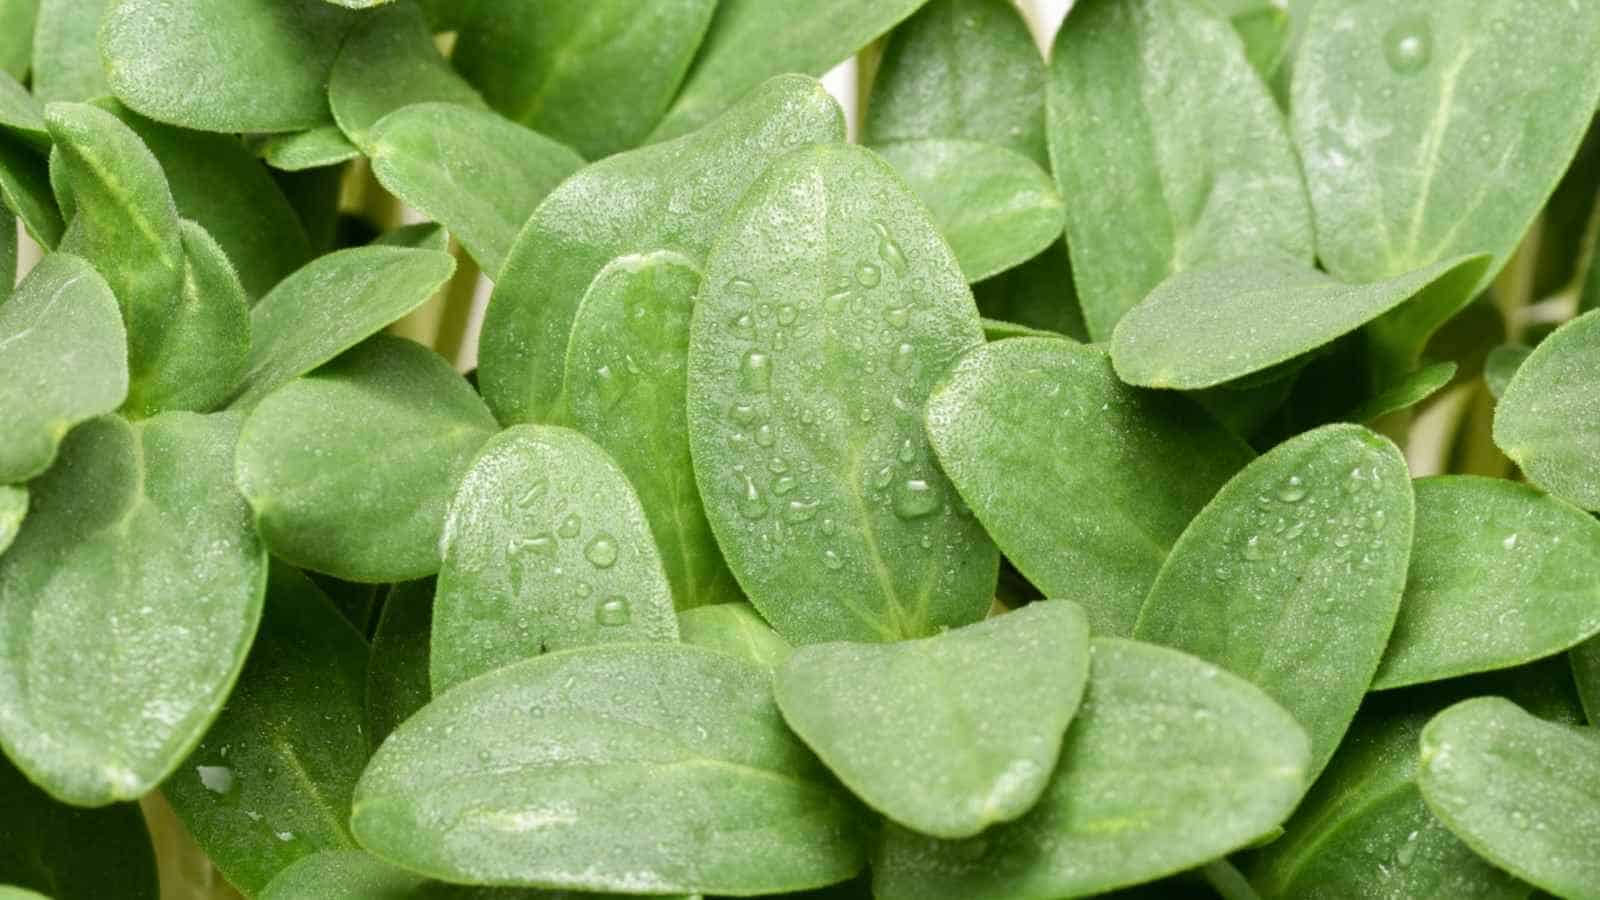
Microgreens are basically seedlings of edible vegetables and herbs and are also known as vegetable confetti. These edible immature greens can be harvested with scissors in less than two weeks after germination, when the plants are around 1 to 2 inches tall.
You know they’re ready when you see their first set of true leaves. But don’t confuse them with sprouts, as sprouts are germinated seeds that produce greens that are entirely eaten from the roots to seeds to shoots.
Microgreens, on the other hand, are ‘micro’ versions of plants and are grown in soil, rather than water. They’re packed with not only flavor but also vitamins and minerals, and come in different colors, textures, and living enzymes.
Health Benefits of Microgreens
Studies show that microgreens can have up to 40 times more nutrients than mature plants, as is the case with red cabbage microgreens that have 40 times more vitamin C and six times more vitamin C.
Similarly, cilantro microgreens are known to have three times more beta carotene than their mature counterparts.

This is because the seed itself contains all the nutrients a plant will need, so consuming the seedling soon after it has sprouted results in nutrient-dense greens that are incredibly versatile too! This is why it’s not surprising how rich and potent they are in phytochemicals.
Harvest and serve them immediately for the best flavor by adding them to your favorite soups, salads, sandwiches, or even main dinner dishes.
They pack a punch in terms of flavor and are known to be more flavorful than mature vegetables and herbs, so even a little goes a long way.
Thanks to their nutrient-dense nature, they have the ability to help lower the risk of illnesses such as diabetes and heart disease.
Why Consider Growing Microgreens at Home
If the health benefits aren’t enough to entice you into growing these immature greens at home, let us share some of the top reasons why you should consider growing microgreens at home:
1. They’re Nutrient-Dense
Microgreens have a wide range of nutritional and health benefits since they contain digestible vitamins, minerals, antioxidants, and phytonutrients. They are rich in flavor, color, texture, and nutrients.
2. Can Be Grown Year-round
One of the best things about microgreens is that you can grow them year-round at home since they are grown indoors at home. This means that they’re not affected by the weather outside, but only by the environment you create for them. This is especially great for those who live up north, since regardless of how cold it is outside, you can grow these easily indoors.
3. Don’t Require A Lot of Space

Have you always wanted to grow your own greens but didn’t have the space for them? Do you live in an apartment and feel that gardening just isn’t for you because you don’t have a backyard? Well, with microgreens you don’t need much space at all; a little space next to your kitchen sink will work just fine!
4. Cheaper Than Store-Bought
If you’ve ever come across microgreens at a grocery store, you know exactly how expensive they can be. We’ve been single trays ranging from $5 all the way to $10! Growing them at home is way cheaper and definitely more rewarding!
5. They Grow Incredibly Fast
One of our favorite things about growing microgreens is how fast they grow! Germination happens in a matter of days, and you’ll be able to consume them in less than two weeks.
What Can You Grow As a Microgreen?
Seeds used to grow mature vegetables with true leaves are the same seeds used to make microgreens grow. Leafy vegetables, herbs, salad greens, peas, and even edible flowers can be grown at home as microgreens.

However, some varieties definitely work better than others. Some great choices for beginners include broccoli, buckwheat, cauliflower, cabbage, chia, mustard, or even sunflower and they can all be grown in a single container.
But that’s definitely not all you’re limited to; here is a list of some of the most popular types and the plant family that they belong to:
- Brassicaceae: Cauliflower, broccoli, cabbage microgreens, red cabbage microgreens, watercress, radish microgreens, arugula, kale

- Asteraceae: Lettuce, endive, chicory, radicchio

- Apiaceae: Dill, carrot, fennel, celery, cilantro

- Amaryllidaceae: Garlic, onion, leek

- Amaranthaceae: Amaranth, quinoa, swiss chard, beets, spinach

- Cucurbitaceae: Melon, cucumber, squash
- Lamiaceae: Chia, basil

How to Grow Microgreens at Home (Step by Step)
Microgreens can be expensive to consistently supply for a household, especially living microgreens. But, growing microgreens is quick and easy, and those who plan on taking care of these indoors can expect to have microgreens at their fingertips year-round.
Fortunately, they grow in about one to two weeks, meaning you will have homegrown greens in no time.
Supplies You’ll Need
To grow microgreens, you’ll need:
- Seeds
- Growing medium (potting soil and peat moss mix, or seed starting mix)
- Containers or garden bed
Start by picking which plant you want to grow as microgreens. When you first start out, choose one or two types of seeds.
Some great choices for beginners include broccoli, lettuce, cauliflower, radish, basil, or cilantro and they can be all grown in one container. Choose one or two types from these.
Next, find a sunny spot to place your containers. Make sure you pick containers that are at least two inches deep.
Then decide which growing medium you will use. A seed starting mix or an even combination of potting soil and peat moss both work well to keep moisture in the soil.
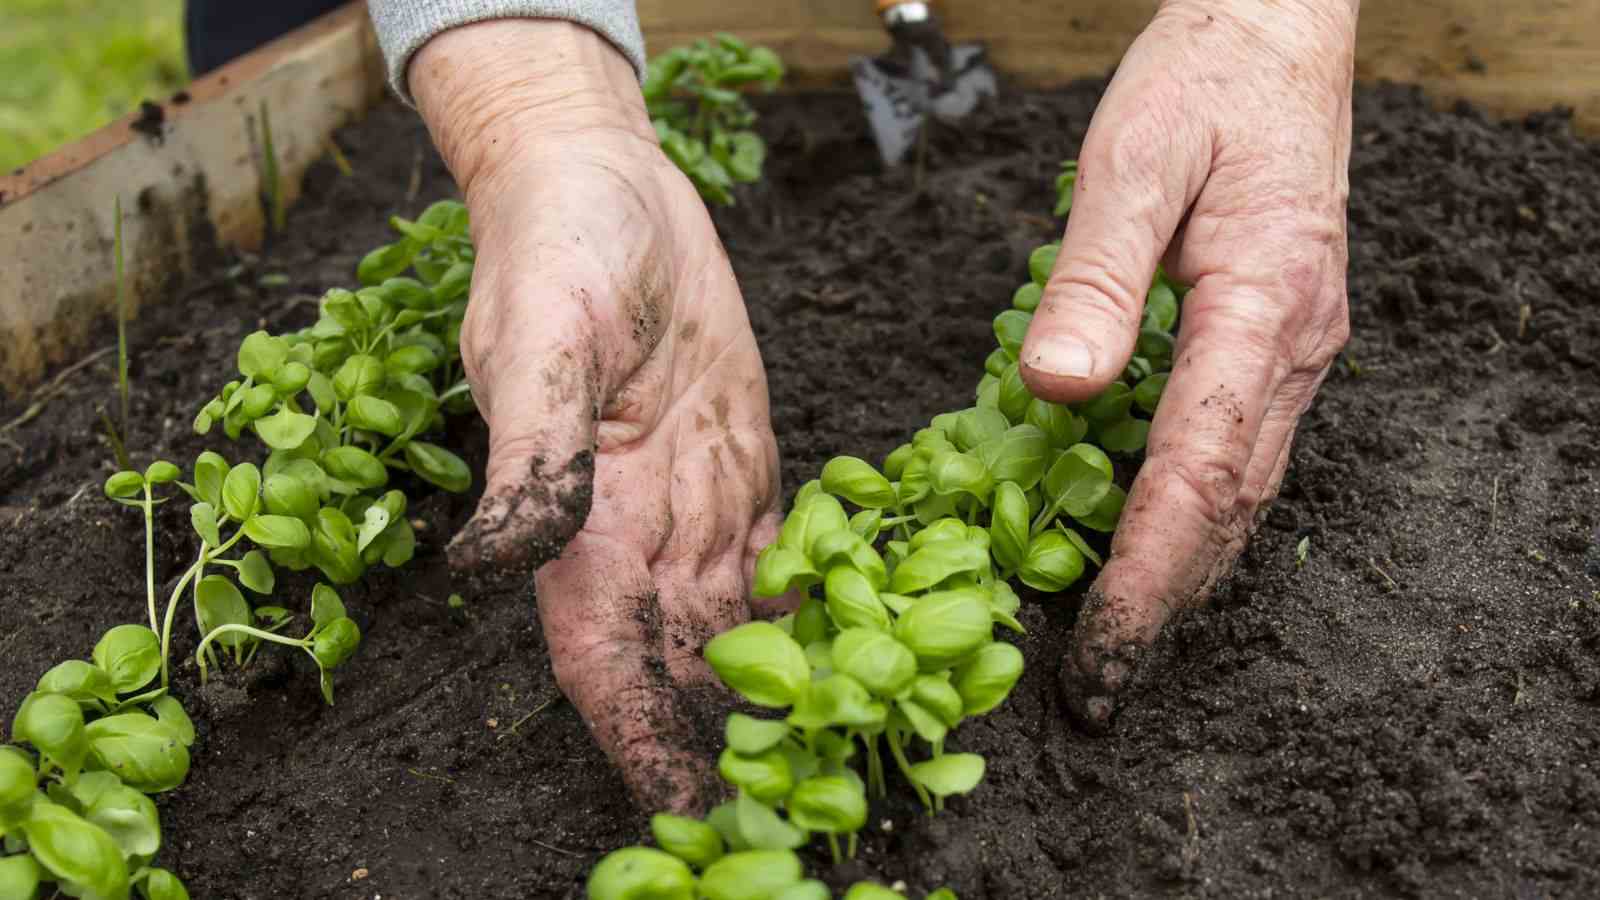
How to Plant Microgreens in Containers

Choose a pot that is at least 2 inches deep and as large as you want in diameter.
Fill it with an organic potting mix and loosen the potting soil. Scatter the seeds across the container 1/8 to 1/4 inch apart and cover them with a thin layer of soil.
Keep the potting soil moist with consistent rounds of water and ensure the seeds get at least 4 hours of sunlight (more in the winter months). South-facing windows work best for indoor growing, but eastern or western-facing windows work well also.
Add some organic fertilizer to the potting soil before each round of planting to help the seedlings grow. Sprouts will appear soon after. You should notice that the true leaves grow and are ready to be used between 10 days to 2 weeks.
How to Plant Microgreens in a Raised Garden Bed
The process for planting microgreens in a raised garden bed is similar to that of planting in containers.
Start by preparing the garden bed with the growing medium you’ve selected. This can be a seed starting mix, organic potting soil, or a mix of potting soil and peat moss. Make sure you leave enough space to add a thin layer of soil on top after planting the seeds. Rake the soil to loosen it up and level it out.
Spread your seed mix on the soil so that each seed is about 1/8 to 1/4 inch apart. Remember that you’ll be harvesting them when they’re very young, so they don’t require much space.
After scattering the seeds across the garden bed, cover them with about 1/8 inch of soil. Use a spray bottle or mister to water the soil so that it is evenly moist.
Microgreens Care and Maintenance
Prevent the soil from drying out. Every day, mist the soil to keep it moist but not soggy. Sprouts should appear within three to seven days.

You won’t need to fertilize if your garden bed has rich soil. If your potting mix does not already contain fertilizer, it is recommended that you mix in some granular fertilizer before planting.
Since microgreens only need a few weeks to reach maturity, they rarely attract pests and diseases.
However, if cabbage worms are an issue and you are growing brassicas such as mustard, cabbage, etc in your microgreen mix you might want to add a floating row cover to protect them.
Harvesting and Storing Microgreens
Microgreens are generally ready to harvest around week two of growth but may also be ready as early as 10 days into the growing process. You will know when they are ready to be harvested once they have developed the first set of mature leaves.

Another indicator of fully grown microgreens is to measure the height of your plant. They get to about 1-1 1/2” in height before they are ready for harvest.
Cut the seedlings just a half-inch above the soil with a sharp chef’s knife or pair of scissors. Using a chef’s knife, you may cut more at once and save time.
After rinsing the microgreens in cool water, pat them dry with a cloth or paper towels. You can also use a salad spinner to get most of the water out of them. After washing the greens, layer them between paper towels and store them in the fridge. They should last approximately one week.
Do Microgreens Regrow After Cutting?
Microgreens are harvested very early on in the growing stage, which means the plants cannot generate new growth. When you cut them off for use, you are cutting off everything the plant has developed besides the stem, which gives it no way to regrow.
Luckily, they grow easily and quickly from new seeds. You can scatter other seeds into your soil after harvesting, and these will grow just as quickly as the previous batch. You can leave the roots of the harvested greens in the soil. This becomes a great source of organic material for the new microgreen seeds to use.
Thanks to the nutrients leftover from your previous harvest, you will find that your growing container sprouts microgreens within a few days after resowing seeds. This makes these easy-to-grow plants capable of providing a variety of vegetables for your table throughout the year.


