Iris flower, a perennial plant known for its striking blooms and sword-like leaves, is a favorite among gardeners for its beauty and resilience.
Belonging to the genus Iris, these flowers come in a wide range of colors, from the vibrant yellows to the deepest blues, making them a versatile addition to any garden.
The name Iris comes from the Greek word for rainbow, and in Greek mythology, Iris was the goddess of the rainbow and the messenger of the heavens, known for her wisdom and courage.
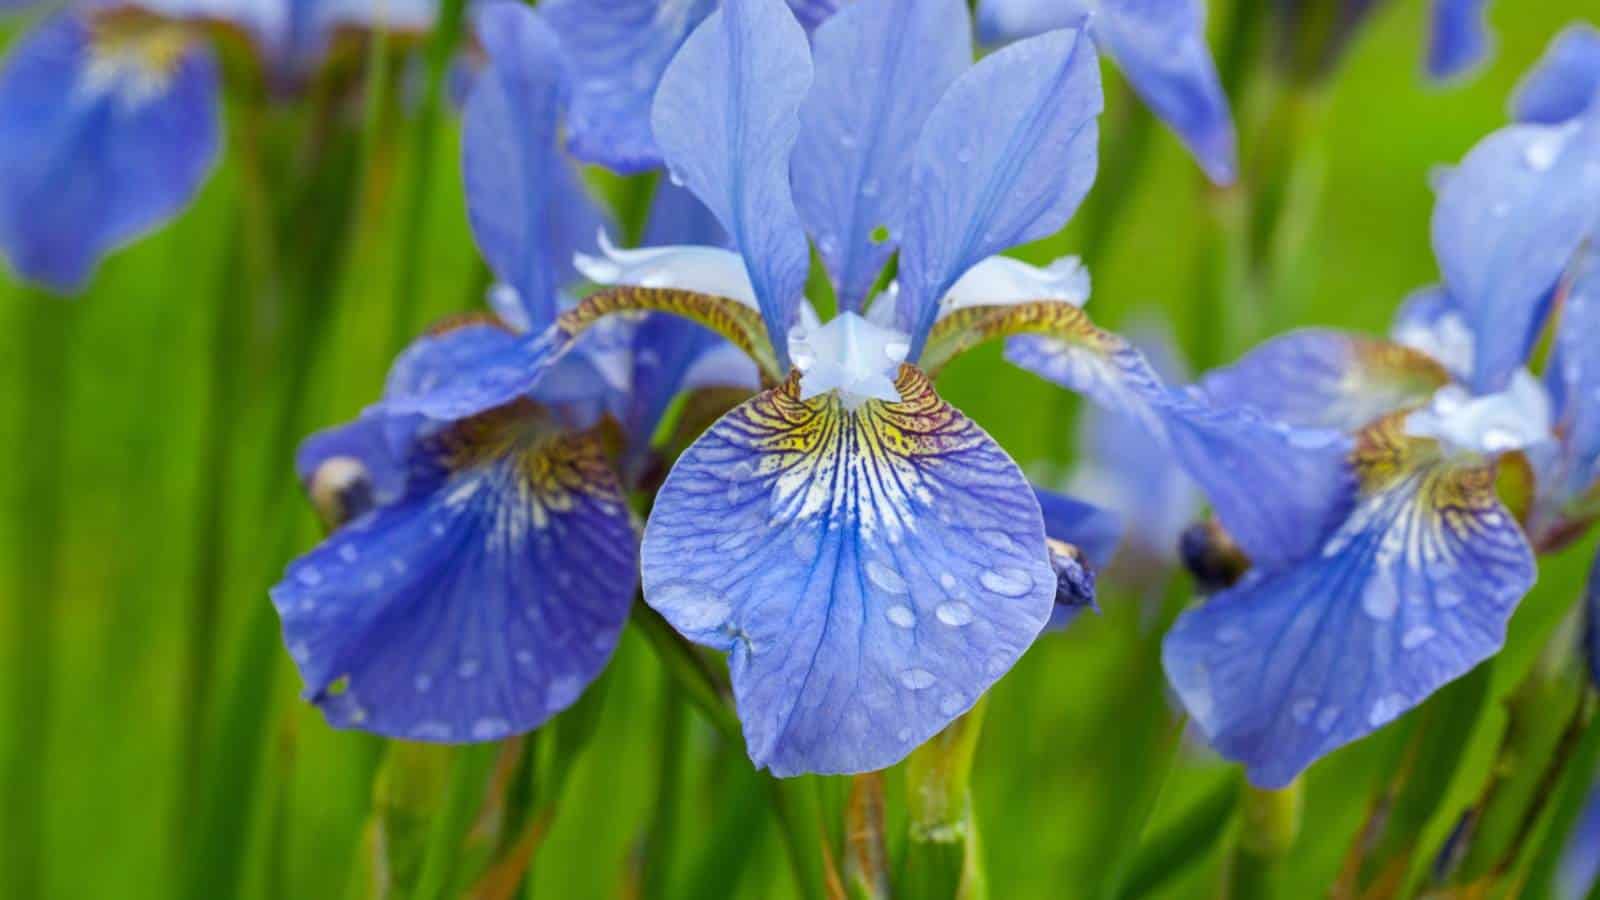
Iris flowers are also known for their distinctive upright petals, called standards, and three drooping petals, called falls, which often have a contrasting color or pattern.
These flowers bloom at different times depending on the variety, with some blooming in late spring to early summer, while others bloom in late summer to early fall.
Iris plants can grow from bulbs, rhizomes, or even as clumps of stems and leaves. Their foliage is often in the form of a fan, and the leaves can range from slender and grass-like to broad and sturdy.
Iris flowers are also a popular choice for cut flower arrangements, as their blooms can last for several days in a vase. As a master gardener, I’ll share everything you need to grow them in this complete guide to growing iris flowers.

Botanical Name: Iris spp.
Common Name: Iris flower, poor man’s orchid
Family: Iridaceae
Plant Type: Flower
Hardiness Zones: 3 – 9 (USDA)
Sun Exposure: Full sun to partial sun
Soil Type: Rich, well-draining soil
Soil pH: Slightly acidic to neutral
Bloom Time: Spring, Summer
Flower Color: Blue, orange, pink, purple, red, white, yellow
Native Area: Europe, Asia, North America (temperate zones)
Iris Flower Care
Iris flower, named after the Greek goddess of the rainbow, is a perennial plant that blooms from early summer to late spring, adding vibrant yellows and upright petals to your garden.
These flowers prefer full sun but can also thrive in partial shade, and they require a depth of planting that allows their bulbs and rhizomes to develop in well-drained soil with moderate moisture.

To ensure their health and bloom, avoid over-watering to prevent rot, and consider using nitrogen-based fertilizers in the early fall to promote robust foliage and prevent leaf spots.
Iris plants are relatively pest-resistant, but keep an eye out for rust and other common issues, and remove affected leaves to maintain the beauty of their clumps of sword-like leaves.
Light
The iris flower is a plant that truly embraces the full sun. These perennials, known for their striking bloom and vibrant yellows, exhibit their best display when situated in a location that receives at least six hours of direct sunlight daily.
However, these plants also showcase their courage by tolerating partial shade, particularly in the hotter climates.
It is important to note that while some iris species can withstand a bit of shade, the full sun is still the best location for these beautiful flowers to showcase their wisdom in the garden.
Soil
The best time to prepare your soil for iris flowers is in early fall. These perennials prefer well-draining soil rich in organic matter to a depth of at least 12 inches.
This ensures that their rhizomes, the bulb-like structures from which they grow, have enough space to spread and develop.

A good layer of compost or well-balanced fertilizers high in nitrogen can be added to the soil to promote healthy growth. It’s essential to avoid soils prone to waterlogging, as this can lead to rot, a common issue for iris plants.
In climates with heavy clay soil, it’s advisable to create raised beds or mounds to plant your irises, allowing better drainage and reducing the risk of rot.
Water
Iris flowers are quite resilient when it comes to moisture. They prefer consistently moist soil but are also tolerant of short periods of drought. Overwatering can lead to rhizome rot, a common issue with these plants.
During the hot, late summer days, it’s crucial to ensure they receive adequate hydration. However, as we transition into early fall, the watering frequency should be reduced to prevent rot in the cooler temperatures.
In climates with hot September days, extra care should be taken to provide enough moisture. It’s always best to monitor the soil’s moisture level and adjust watering accordingly.
Temperature and Humidity
Iris flowers thrive in a wide range of climates, from the heat of full sun in early summer to the cooler temperatures of late spring and early fall.
These perennials appreciate a period of dormancy in the winter, which helps to promote healthy blooms in the late summer.

Different species, such as the dwarf and the tall bearded irises, have different temperature requirements. Generally, irises prefer a climate with moderate humidity and good air circulation to prevent leaf spots and rust.
Too much moisture can lead to rhizome rot, a common issue with these plants. Therefore, it’s crucial to ensure that the soil has good drainage and to avoid overhead watering, especially in humid climates.
Fertilizer
The best time to fertilize iris flowers is in late summer, after they have finished their glorious bloom, or in early fall. This timing allows the nutrients to be absorbed and stored in the rhizomes for the following year’s growth.
A general-purpose fertilizer with a higher proportion of nitrogen is ideal for these perennials, as it promotes lush foliage and vibrant bloom. However, over-fertilization should be avoided, as it can lead to issues such as rot and certain pests.
Applying the fertilizer in clumps around the base of the plant, but not directly onto the rhizome, and ensuring it’s well-watered afterward, will help prevent burn and ensure the plant receives the necessary moisture to absorb the nutrients.
Pruning
Pruning iris plants is best done in late summer, after the plants have finished their bloom. Using a pair of clean, sharp scissors or shears, trim back the yellowed or browning leaves and stems to the base.

This helps prevent the spread of pests and diseases such as rust and leaf spots. Be sure to remove any clumps of rhizomes that show signs of rot to maintain the plant’s health.
The best time to prune iris flowers is just before the onset of early fall, allowing the plant to conserve energy for the next growing season.
Overwintering
Iris plants require specific overwintering care due to their delicate bulbs and rhizomes. After the late summer bloom has faded and the foliage begins to yellow, it’s time to prepare the iris for the colder months.
Cut back the leaves and stems to a few inches above the bulb or rhizome, and carefully dig these up, ensuring you don’t damage them. Divide any overgrown clumps to maintain plant vigor.
Ensure the bulbs or rhizomes are planted at the correct depth – usually about 3 to 4 inches for bulbs and just beneath the soil surface for rhizomes – in a location with good drainage to prevent rot during the moister months.
Types of Iris Flower
- Bearded Iris: The bearded iris is a majestic perennial that commands attention with its showy, upright petals, called standards, and the fuzzy ‘beard’ that adorns the falls. These irises are known for their wide range of colors, including regal purpIes, vibrant blues, sunny yellows, and even bi-colors.

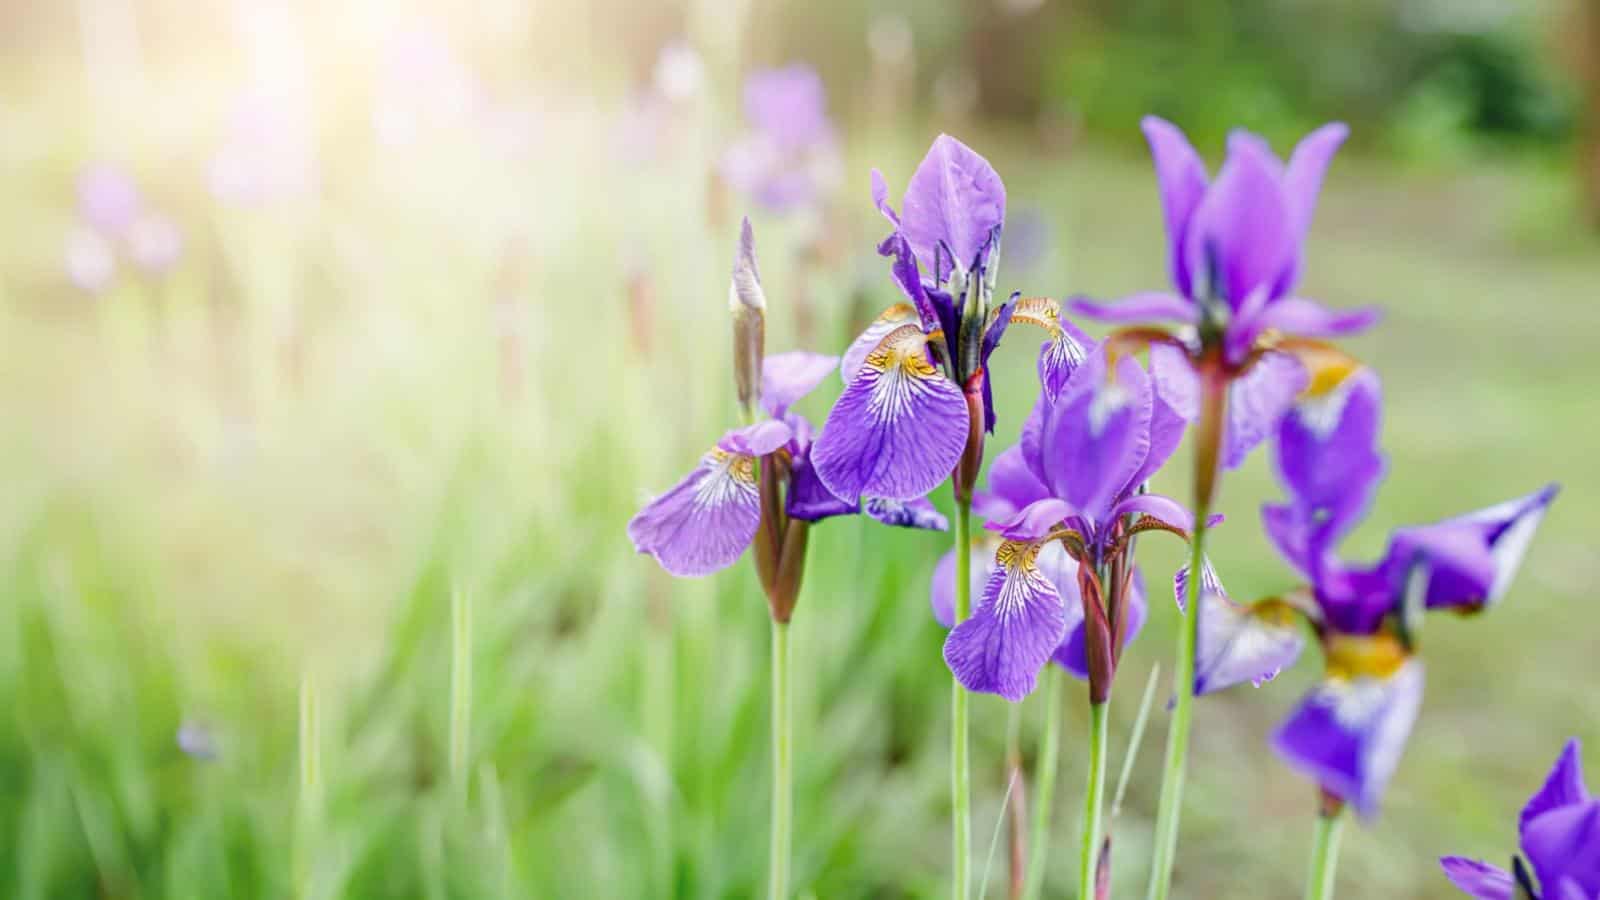
- Siberian Iris: The Siberian iris, a native of Europe and Central Asia, is a hardy and low-maintenance plant that is well-suited to a variety of climates. Its slender, grass-like leaves and delicate, elegant flowers make it a favorite among gardeners.

- Dutch Iris: The Dutch iris is a true gem in the garden, with its tall, graceful stems and striking, star-shaped blooms. These irises are known for their rich, velvety colors, including deep purpIes, royal blues, and buttery yellows.

- Japanese Iris: The Japanese iris, or Iris ensata, is a stunning plant that boasts large, flat flowers with beautifully patterned petals. These irises are known for their love of moisture and are often found at the edges of ponds or in damp, boggy areas.

How to Plant Iris Flower From Seed
Step 1: Prepare the Seeds
The best time to collect iris seeds is in late summer or early fall. The seeds can be found in the clumps of iris flowers, known as the ovary.
Step 2: Choose the Right Spot
Iris flowers prefer full sun, but they can also tolerate partial shade. Choose a location with well-draining soil to prevent rot and other diseases.
Step 3: Plant the Seeds
Plant the seeds at a depth of about twice their width. This can be shallow, as iris bulbs prefer to be close to the surface.
Step 4: Care for Your Iris Plants
Iris plants need a good balance of moisture and nutrients. Regular watering and the occasional application of a balanced fertilizer can help them thrive.

How to Propagate Iris Flower
Step 1: Prepare the rhizomes
The best time to divide and replant your iris is in late summer or early fall. Gently lift the clumps of iris from the ground using a garden fork or spade. Carefully shake off the excess soil to expose the rhizomes.
Step 2: Division
Inspect the rhizomes for any signs of rot, rust, or leaf spots. Cut the rhizomes into sections, making sure each division has a fan of leaves and healthy roots attached. Discard any soft or damaged parts.
Step 3: Planting
Prepare the planting site by digging a trench or individual holes. The depth of the hole should allow the rhizome to sit just below the soil surface with the top of the rhizome exposed. This is crucial for preventing rot.
Step 4: Care and maintenance
Water the newly planted divisions thoroughly to settle the soil and provide moisture. Keep the soil consistently moist but not waterlogged. Apply a balanced fertilizer with a higher nitrogen content in late spring to promote healthy foliage and abundant blooms.

How to Pot or Repot Iris Flowers
Step 1: Selecting the Right Pot and Soil
The best time to pot or repot iris flowers is in late summer or early fall, just after they have finished blooming.
When selecting a pot, choose one with adequate depth to accommodate the rhizomes and their root systems. The pot should also have good drainage to prevent rot.
Iris flowers prefer a rich, well-draining soil. A good mix for iris flowers is one part garden soil, one part peat moss, and one part perlite for added drainage.
Adding a handful of bone meal to the soil can also provide the extra phosphorus needed for robust bloom development.

Step 2: Preparing the Iris Rhizomes
Iris flowers grow from specialized underground stems called rhizomes. These rhizomes should be divided and replanted every three to five years to prevent overcrowding and ensure continued vigor.
The best time to divide and repot iris rhizomes is in late spring, just after they have finished blooming.
Carefully dig up the clumps of iris, being careful not to damage the roots. Using a sharp, clean knife, divide the rhizomes into smaller clumps, ensuring each clump has at least one fan of leaves and a healthy root system.
Common Pests and Plant Diseases for Iris Flower
Iris Borer

Iris Borer is a common pest that can wreak havoc on your beautiful iris flowers. These pests are the larvae of a moth and they cause damage by tunneling into the rhizomes of the plant, leading to rot and a decline in plant health.
Symptoms include wilting leaves and a lack of bloom. To prevent these pests, ensure your iris plants are well-spaced to promote air circulation and regularly inspect your plants for signs of infestation.
Leaf Spot
Leaf spot is a common disease that affects many plants, including irises. This fungal disease causes dark, water-soaked spots to appear on the leaves and can lead to premature leaf drop.
This can weaken the plant and reduce its ability to produce energy through photosynthesis. Leaf spot thrives in moist conditions, so be sure to water your irises at the base and avoid getting the foliage wet.
Soft Rot
Soft rot is a bacterial disease that can affect iris plants, particularly if they are grown in climates with high moisture levels. This disease causes the rhizomes of the plant to become soft and mushy, leading to a collapse of the plant.
Symptoms include a foul odor and a yellowing or browning of the leaves. To prevent soft rot, ensure your irises are planted in well-draining soil and avoid overwatering.
Iris Weevil

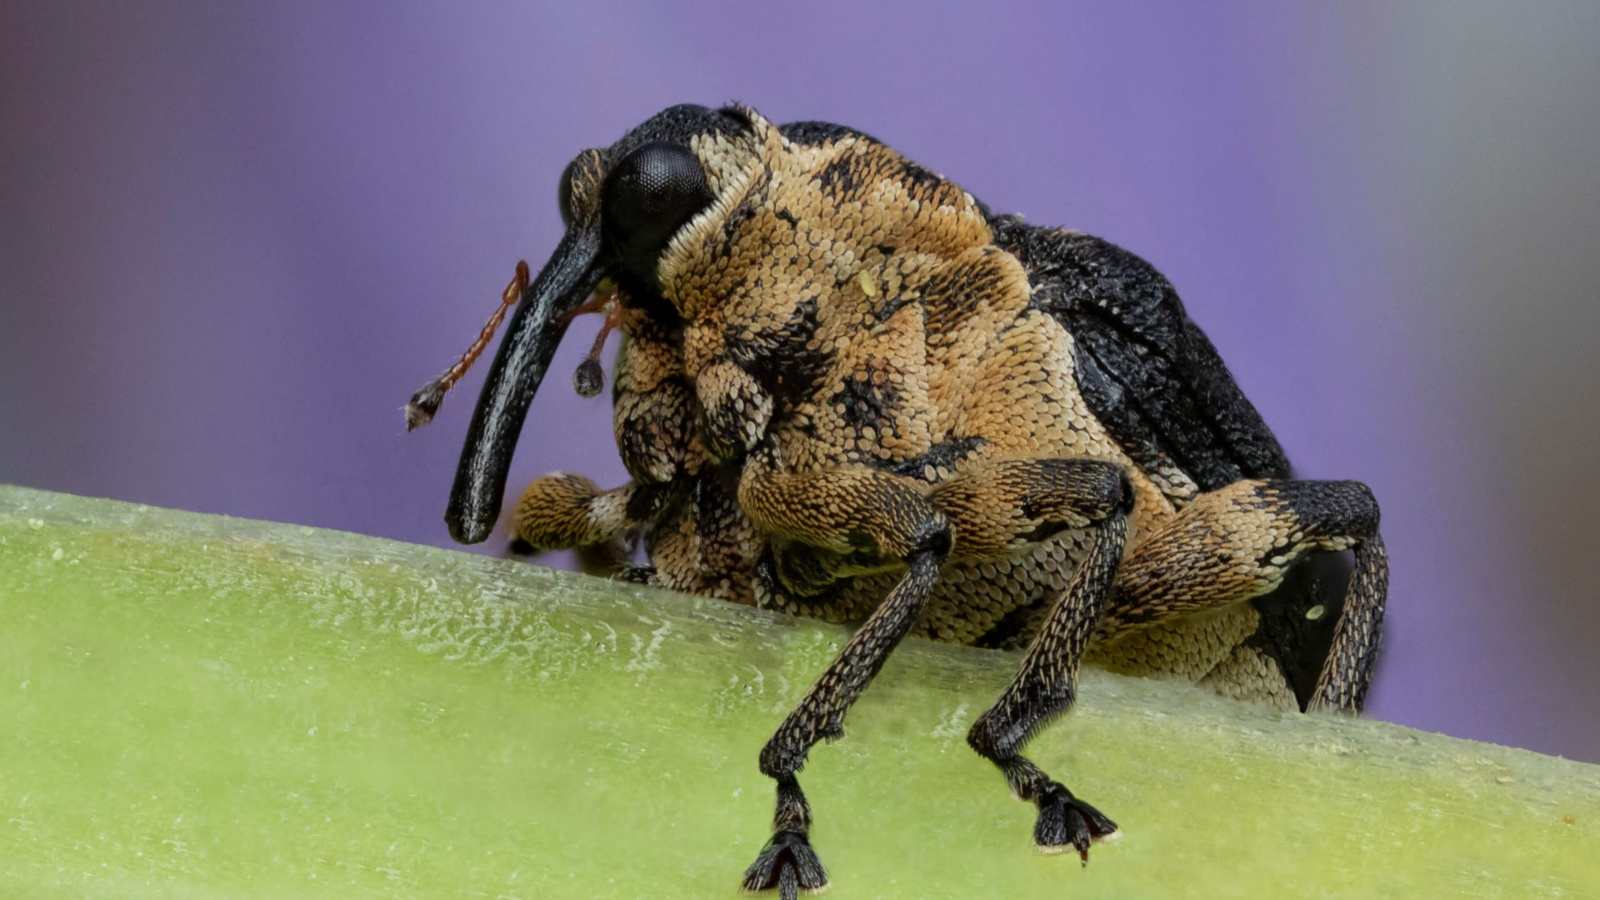
The Iris Weevil is a small beetle that can cause significant damage to your iris plants. The adult weevils feed on the foliage, creating characteristic notches along the edges of the leaves.
The larvae, meanwhile, feed on the bulbs and rhizomes, leading to a decline in plant health. To control these pests, regularly inspect your plants and remove any affected leaves or bulbs.
Rust
Rust, a common fungal disease in iris flowers, appears as orange-brown spots on the leaves. To prevent this, ensure the plant is grown in a well-draining location and avoid overhead watering, which can spread the spores.
Common Plant Problems and Solutions for Iris Flower
Brown Tips
Brown tips on the leaves of iris flowers are often a sign of insufficient moisture. To rectify this, ensure the plant receives adequate water, especially during the hot summer months.

Yellowing leaves
Yellowing leaves can be a sign of a nitrogen deficiency in the soil. To combat this, apply a nitrogen-rich fertilizer to the plant in the early summer.
Clumps and Dividing
Over time, iris flowers can form large clumps, leading to overcrowding and reduced blooming. The best time to divide these clumps is in late summer, ensuring each division has healthy bulbs or rhizomes and a fan of leaves.
Other Guides from Planet Natural:
15 Poisonous Flowers to Avoid and Remove From Your Garden
Exotic Flowers: A Visual Guide to The Most Beautiful Varieties
15 Rare Flowers Around the World — And Why They’re So Rare


