
Bromeliads are a fascinating group of houseplants that belong to the family Bromeliaceae. These plants are incredibly diverse, with over 3,000 species, including the well-known pineapple.
One of the most distinctive features of bromeliads is their rosette of spidery leaves, which can come in a range of colors, including dark green and orange. Some species even produce miniature pineappless at the top of the flower spike.
Many bromeliads are epiphytes, meaning they grow on other plants in their natural habitat. They are not parasitic and use their host only for support. Air plants are a popular group of bromeliads that are epiphytic, requiring no soil to grow.
Bromeliads are prized for their unique foliage and stunning blooms. The flowers of bromeliad plants are often surrounded by a colorful bract, which can be red, orange, or shades of pink.
These plants are relatively easy to care for, making them a popular choice for indoor gardeners. They thrive in warm temperatures and bright light, but they should be protected from direct sun exposure, especially during the summer months.
In their natural habitat, bromeliads can be found growing in the crooks of tree branches, where they absorb moisture and nutrients from the air and the surrounding environment. This makes them well-suited to life as houseplants, where they can thrive in the controlled environment of a home.
With their striking foliage and relatively low-maintenance care requirements, bromeliads are a fantastic addition to any indoor garden. As a master gardener, I’ll share everything you need to know to plant and grow bromeliad at home.

Botanical Name: Bromeliaceae genera
Common Name: Bromeliad
Family: Bromeliaceae
Plant Type: Perennial
Hardiness Zones: 10 – 11 (USDA)
Sun Exposure: Partial sun, bright light
Soil Type: Well-drained
Soil pH: Acidic
Bloom Time: Blooms once, timing varies
Flower Color: Red, purple, green, orange, yellow
Native Area: North America, Central America, South America
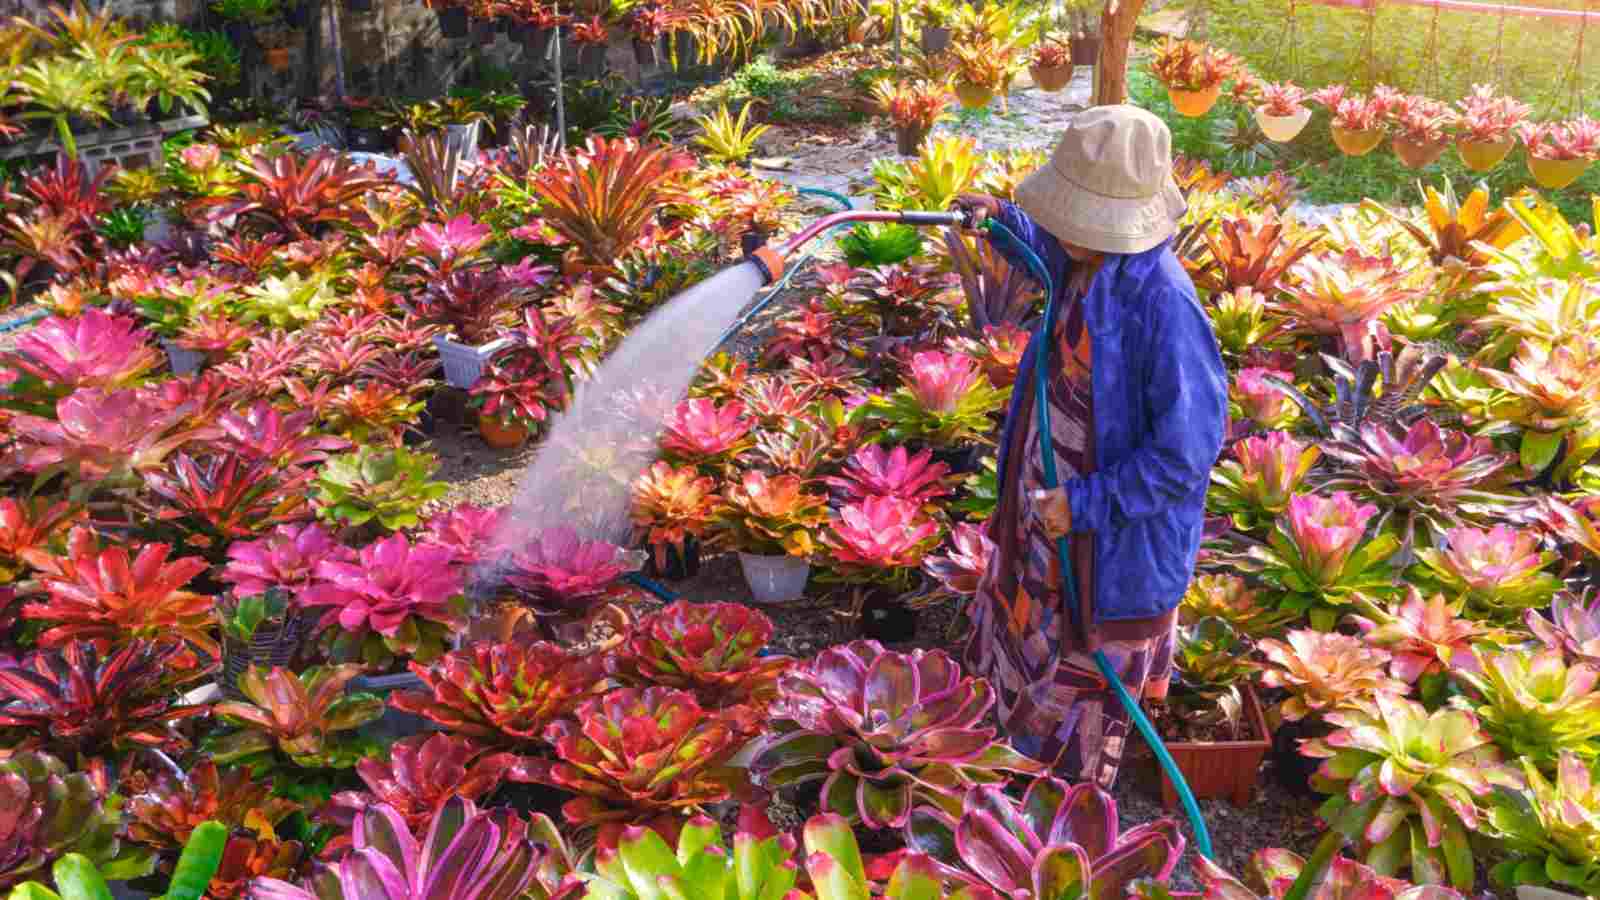
Bromeliad Plant Care
Bromeliads are epiphytes, often referred to as air plants, and they thrive in warm temperatures and bright light, but they should be shielded from direct sun exposure, especially during the scorching summer months.
The tank, a rosette of leaves at the top of the flower spike, should be filled with a mixture of tap water and moss to provide the necessary moisture and nutrients.

To avoid the risk of bacteria, it’s recommended to use half-strength tap water. These houseplants are relatively pest-resistant, but they can sometimes fall victim to mealybugs and other insects.
The green leaves, often in shades of dark green and sometimes with spidery leaves, are a source of nutrition for the plant, and they should be kept free from pests to ensure the health of the mother plant and the development of its vibrant blooms and miniature pineapplesi.
Light
Bromeliads are a diverse group of plants that can thrive in various light conditions, but they truly flourish in bright light. Whether they are indoor plants or exposed to direct sun in outdoor gardens, bromeliads need a good amount of light.
Shades are acceptable, but a lack of bright light can result in green leaves with less vibrant orange and red tones. The foliage of these plants, often in the form of spidery leaves or a rosette, will benefit from warm temperatures and a good balance of light and shade.
During the summer months, it is especially important to ensure that your bromeliads are receiving adequate light, as this is when they are most actively growing.

Soil
Bromeliads are not your average houseplants, and they don’t rely on traditional potting soil. Instead, they prefer a well-draining mixture that mimics their natural habitat – the tropical rainforest.
A combination of orchid bark, cymbidium orchid mix, or a specialized bromeliad mix works well. This airy medium allows the roots to access the necessary nutrients while preventing waterlogged conditions that can lead to root rot and the growth of harmful bacteria.
Some bromeliads also thrive when nestled in a bit of moss within the central tank of their rosette to enhance moisture levels. Always ensure the potting mixture is free from pests like mealybugs or insects that can harm the plant.
Water
Bromeliad plants have unique water needs, primarily because they are epiphytes, which means they absorb most of their moisture through their foliage rather than their roots. In their natural habitat, they often grow on trees, where their tank-like rosette of leaves captures and stores water.
When caring for these houseplants, it’s crucial to keep this tank filled with water, but equally important to ensure that it’s not sitting stagnant, as this can lead to the growth of harmful bacteria.
Using purified or rainwater is preferable to tap water, as the minerals and chemicals in tap water can be detrimental to the plant’s health.
During the summer months, when temperatures are warmer and the air can be drier, it’s a good idea to mist the plant’s foliage with water to increase the humidity around it.
Temperature and Humidity
Bromeliads thrive in warm temperatures, ideally between 70 to 90 degrees Fahrenheit, which is akin to the summer months in most regions. Exposure to anything below 50 degrees Fahrenheit can be detrimental to these tropical beauties.
As for humidity, bromeliads adore moisture. The dry air, often found in typical indoor environments, can be a challenge. To mimic their natural habitat, consider using a tank or tray filled with water and pebbled to increase the ambient humidity around the plants.

Misting the foliage regularly can also help, as can placing the bromeliads on a bed of moistened moss. Regular monitoring is crucial as too much moisture can attract pests and bacteria.
Fertilizer
Bromeliads have modest nutrient needs, and their tank-like rosette structure allows them to gather water and nutrients from the air.
A well-balanced mixture or a special bromeliad fertilizer can be applied sparingly during the summer months, when the plant is most actively growing.
Over-fertilization can lead to the build-up of bacteria and pests in the central tank, and may cause damage to the plant. Therefore, it’s best to use a half-strength solution and flush the central tank with clean water regularly to prevent any issues.
Pruning
Pruning bromeliads is a relatively simple task. After the mother plant has produced its stunning blooms, it will slowly start to fade.
At this point, you can carefully remove the plant’s central rosette with a clean, sharp tool, making sure not to damage the pups (baby plants) surrounding it.
These pups can be left to grow, eventually forming their own mature bromeliads. The removed rosette can sometimes be propagated by placing it in a mixture of orchid bark and moss, where it may produce new roots and eventually a new plant.
Regular inspection for pests like mealybugs is crucial during the pruning process, as these can inhabit the nooks and crannies of the plant.
Overwintering
During the dark winter months, bromeliads require special care. They need bright light but should be shielded from direct sun, which can scorch their delicate foliage.
Keep the tank at the center of the rosette filled with water, as these plants absorb moisture through their leaves. However, ensure you use purified or rainwater as they are sensitive to the chemicals present in tap water.
Maintain warm temperatures and consider using a humidifier to combat the dry air typical of winter indoor environments.
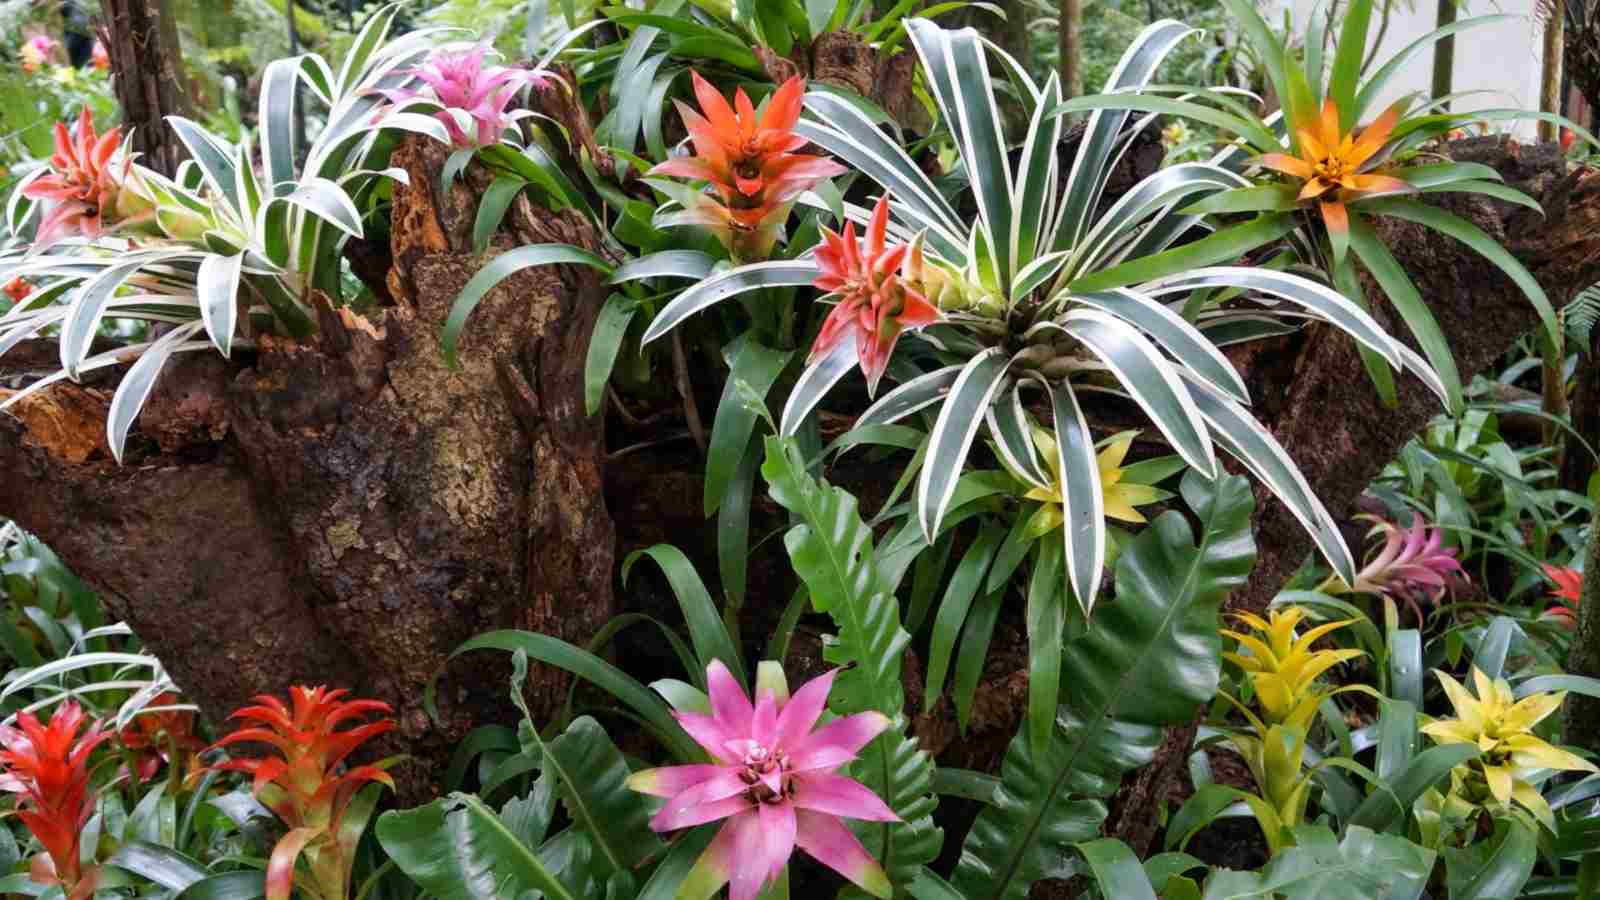
Types of Bromeliad
- Aechmea: Aechmea is a stunning variety of bromeliad plants, known for their vibrant foliage and unique blooms. These houseplants are epiphytes, meaning they don’t require soil to grow. They draw moisture and nutrients from the air through their tank, a central reservoir formed by the tightly overlapping leaf bases.

- Ananas: Ananas, or pineapple plants, are a favorite among gardeners for their exotic look and the promise of miniature pineapples. These bromeliads have dark green leaves and a rosette of spiky, toothed foliage at the center, from which the fruit emerges.
- Billbergia: Billbergia is a diverse genus of bromeliad plants, encompassing species with an array of leaf shapes, colors, and markings. Many varieties are prized for the long-lasting, tubular blooms that emerge from colorful bracts, adding a splash of orange or red to the foliage.

- Cryptanthus: Cryptanthus, or earth star plants, are unique among bromeliads for their low, spreading growth habit and the striking patterns and colors of their leaves. These houseplants are perfect for adding a touch of the exotic to any indoor garden.

- Dyckia: Dyckia is a small genus of bromeliad plants, known for their tough, spiky leaves and tolerance of dry air and direct sun exposure. These houseplants are perfect for gardeners who want a low-maintenance, yet visually striking addition to their collection.

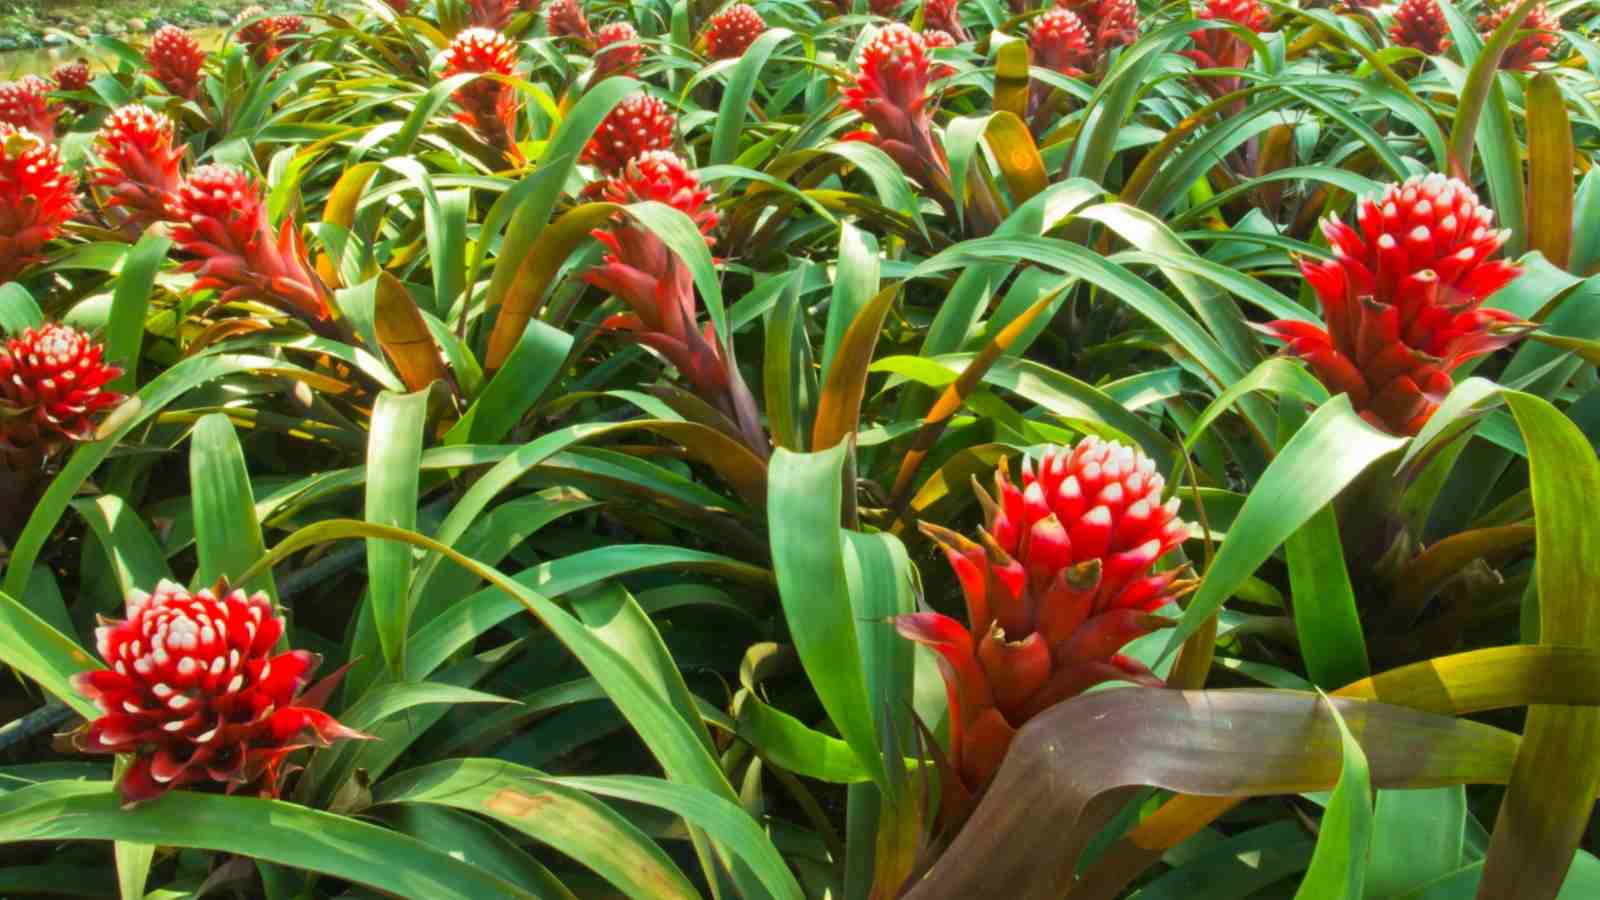
- Guzmania: Guzmania is a popular genus of bromeliad plants, prized for the vibrant, long-lasting bracts that rise above the central rosette of leaves. These houseplants are often used as a splash of color in indoor gardens, with varieties ranging from deep red to bright orange.

- Neoregelia: Neoregelia is a diverse genus of bromeliad plants, known for the unique way their leaves form a central reservoir, or tank, at the heart of the plant. Many varieties also feature striking patterns and colors on the foliage, adding to their appeal as houseplants.

- Tillandsia: Tillandsia, or air plants, are perhaps the most unique of all bromeliad plants. These epiphytes don’t require any soil at all, drawing moisture and nutrients from the air through specialized trichomes on their spidery leaves. Tillandsia come in a staggering array of shapes, sizes, and colors, and are prized for their ability to thrive in a wide range of conditions, from bright light to shade.

How to Plant Bromeliad From Seed
Step 1: Choosing the Right Mixture
When planting bromeliads from seed, it’s crucial to choose the right mixture. A combination of cymbidium orchid mix and moss is ideal. This mixture provides the necessary nutrients and moisture retention for the delicate seeds.
Step 2: Preparing the Tank
Bromeliads are unique in that they have a central tank or rosette that collects water. This tank is essential for their survival, especially in their native habitats where they often grow as epiphytes, or air plants.
In a domestic setting, the tank can also attract pests and bacteria if not properly maintained. To prepare the tank for the seeds, it’s essential to use half-strength tap water and periodically flush the tank to prevent the buildup of harmful organisms.
Step 3: Planting the Seeds
Bromeliad seeds are tiny and should be scattered on top of the flower spike of the mother plant. The mother plant is the original bromeliad that produced the blooms.
The seeds will eventually settle into the crevices of the flower spike and begin to germinate.
Step 4: Providing the Right Conditions
Once the seeds are in place, it’s crucial to provide the right conditions for their growth. Bromeliads prefer bright light but should be protected from direct sun, especially during the hot summer months.
They also thrive in warm temperatures and require high humidity. If you’re growing them indoors, consider using a humidifier to counteract the effects of dry air.
Image URL: https://www.shutterstock.com/image-photo/bromelia-giant-bromeliads-group-plants-that-2367914097
Alt Text: Young bromeliad flowers
File Name:
How to Propagate Bromeliad
Step 1: Identify the Mother Plant
The mother plant is the mature bromeliad that has already bloomed. Look for a plant with vibrant, healthy foliage and a well-developed central rosette.
Step 2: Prepare the Offshoots
Bromeliads produce offshoots, or pups, around the base of the mother plant after flowering. These pups can be carefully removed once they reach one-third to one-half the size of the mother plant.
Use a clean, sharp knife or shears to cut the pup away from the mother plant, ensuring that it has some roots attached.
Step 3: Plant the Pups
Fill a small pot with a well-draining bromeliad or orchid mix. You can also use a mixture of orchid bark and sphagnum moss.
Plant the pup in the pot, making sure the roots are covered with the growing medium. Keep the potting mix lightly moist, but not waterlogged, and place the pup in a bright, indirect light.
Step 4: Provide Care for the Pups
Bromeliad pups will benefit from the same care as mature plants, including regular misting to maintain humidity, and a monthly half-strength dose of a balanced liquid fertilizer.
As the pups grow and develop their own root systems, they can be transplanted into larger pots. With proper care, the pups will mature into full-grown bromeliad plants and eventually produce their own blooms.

How to Pot or Repot Bromeliad
Step 1: Gather Your Materials
To begin the process of potting or repotting your bromeliad, gather all the necessary materials. You will need a pot or container with good drainage, a mixture of orchid bark and moss, and some tap water.
Step 2: Prepare the Potting Mixture
Bromeliads are epiphytes, which means they naturally grow on other plants, so they don’t require traditional soil.
Instead, they thrive in a mixture of orchid bark and moss, which provides the right balance of moisture and nutrients while allowing for good drainage.
Step 3: Pot It
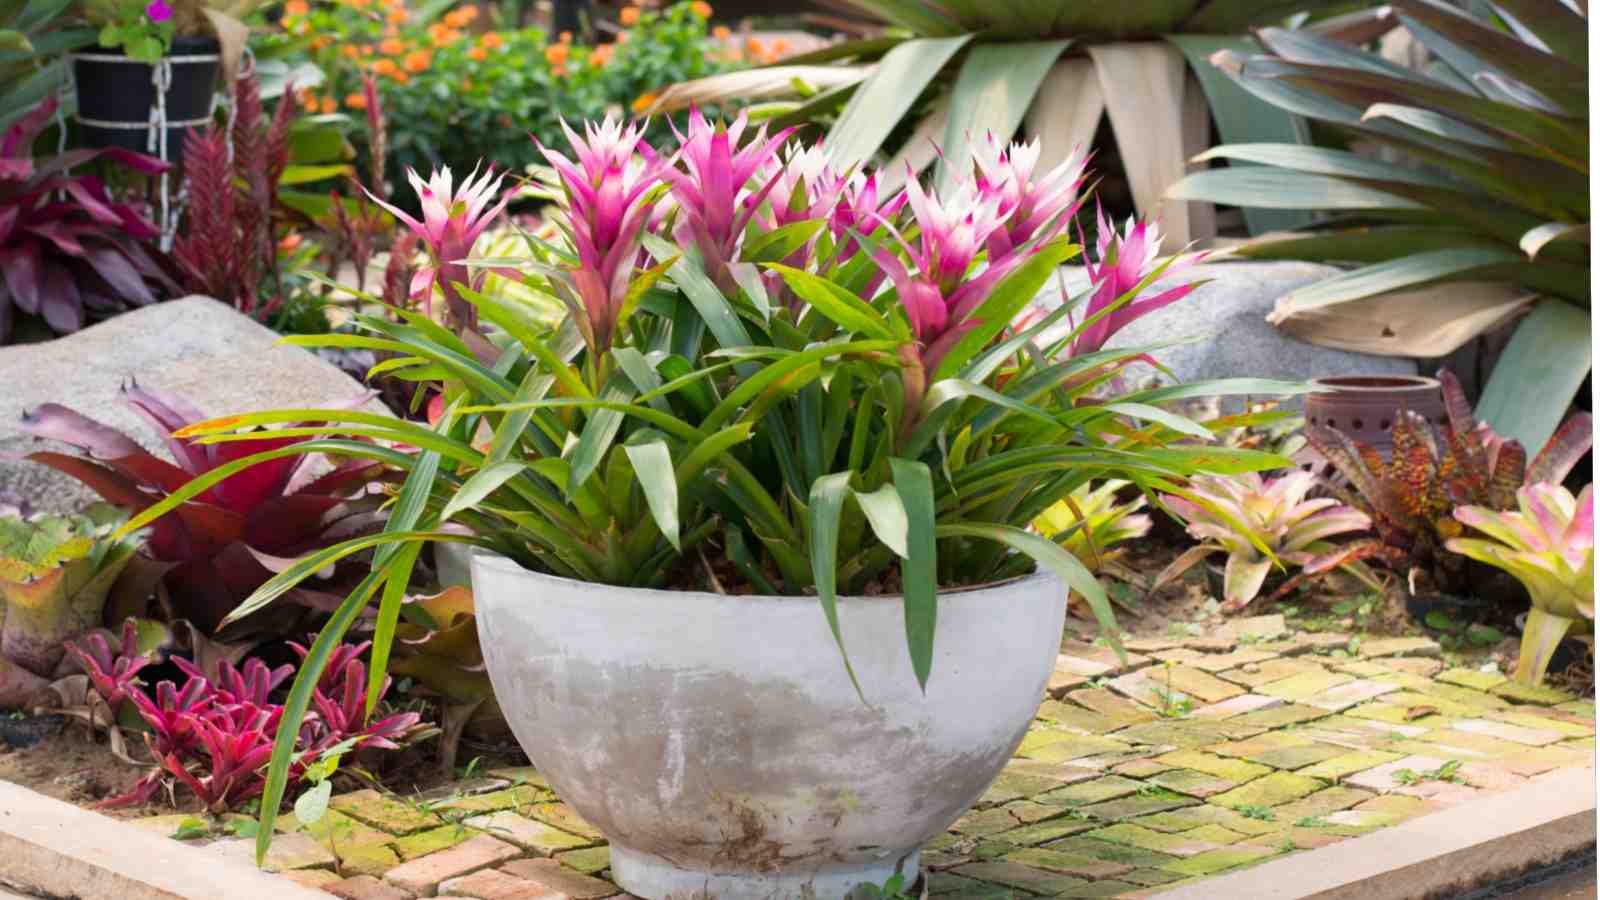
Once your potting mixture is ready, it’s time to pot your bromeliad. Place the plant in the pot, ensuring that the base of the rosette (the central cup-like structure where the plant’s leaves meet) is level with the top of the pot.
Fill in around the plant with the potting mixture, pressing gently to secure the plant in place. Water the plant with half-strength tap water to settle the mixture around the roots.
Common Pests and Plant Diseases for Bromeliad
Mealybugs

Mealybugs are common pests that can infest bromeliads, especially in warm temperatures and dry air. These small, white insects feed on the plant’s sap, causing the foliage to yellow and the overall health of the plant to decline.
Mealybugs also secrete a sticky substance called honeydew, which can lead to the growth of sooty mold. To control mealybugs, it’s important to regularly inspect your bromeliads and treat any infestations promptly.
Scale Insects

Scale insects are another common pest of bromeliads. These pests attach themselves to the leaves and stems of the plant and feed on the sap, leading to yellowing and wilting of the foliage.
Severe infestations can even cause the plant to die. Scale insects also secrete honeydew, which can attract ants and lead to sooty mold. To control scale insects, you can use a mild soap solution or horticultural oil.
Bacterial Diseases
Bromeliads are generally hardy plants, but they can be susceptible to certain bacterial diseases, especially if they are overwatered or if the water used is contaminated.
Bacterial diseases can cause the leaves of the plant to become water-soaked and mushy, and can lead to the rotting of the central rosette. To prevent bacterial diseases, it’s important to water your bromeliads carefully, using only clean, preferably distilled water.
Root Rot and Leaf Spot

Fungal diseases, such as root rot and leaf spot, can also affect bromeliads, especially if the plants are kept in conditions of high humidity and poor air circulation.
These diseases can cause the leaves to develop brown or black spots, and can lead to the decay of the plant’s roots.
To prevent fungal diseases, it’s important to provide good air circulation around your bromeliads and to avoid overwatering. If your plant does develop a fungal disease, you can treat it with a fungicide labeled for use on bromeliads.
Common Plant Problems and Solutions for Bromeliad
Brown Tips
Brown tips on the foliage of bromeliads are often a sign of dry air or exposure to direct sun.
To rectify this, increase the moisture levels around the plant by misting regularly and moving it to a location with bright, indirect light.
Yellowing Leaves

Yellowing of the green leaves in the rosette of your bromeliad can be caused by overexposure to tap water, which contains high levels of chlorine and fluoride.
To counteract this, use a mixture of rainwater or distilled water when watering your plant.
Failure to Bloom
Bromeliads are known for their vibrant blooms, often in shades of orange, pink, or red, which emerge from the top of the flower spike.
If your plant is not blooming, it may not be receiving enough bright light or warm temperatures. Ensure your plant is in a location with adequate light and warmth, particularly during the summer months.
Fading Bracts
The bracts of a bromeliad, which are often brightly colored and resemble miniature pineapples, can fade if the plant is not receiving the right nutrients.
To enhance the color of the bracts, feed your plant a half-strength, balanced liquid fertilizer every month during the growing season.
Failure to Produce Offsets
Bromeliads, like the popular pineapple plant, often produce offsets, or ‘pups’, around the base of the mother plant. If your bromeliad is not producing these offsets, it may not be receiving the right conditions.
These plants prefer a well-draining mixture such as orchid bark or a cymbidium orchid mix and should be kept in warm temperatures to encourage pup production.
Other Guides from Planet Natural:


